Favorite Things Fan Book With Pumpkin Spice Paper

I try to surround myself with things that inspire me, bring me joy, comfort me, and make me peaceful. Whether they be photos, quotes, blessings, scents - I keep them close, a special place of respite and renewal, safe from the chaos of this world.
Today's project is based on that idea. A little book filled with good things, like favorite Bible verses, and special blessings - formatted in an easy to read "fan" style.
The paper is handmade, and infused with pumpkin spice tea leaves for a comforting, warm and spicy scent. I used the Arnold Grummer Papermill Complete Kit and a few Bigelow Pumpkin Spice Tea bags to make the handmade paper.
For a basic tutorial on how to make handmade paper, go to the Arnold Grummer Papermaking Blog and let Mr. Grummer show you how easy it is. While you're there visit the Arnold Grummer website, and take advantage of the BEST DEAL of the summer - 15% off your entire order! Sale items excluded. Use promo code AGIS89 at checkout. Hurry, sale ends Aug 30!
Let's get started. Here's what you'll need:


Hole punch
Post screw. I used 1/2 inch aluminum screw post.
Pencil
Stamps
Ink pad
Glue stick
Some favorite things that make you happy! Flowers, photos, quotes etc.
Next, fold your papers in half, short end to short end and score them, then tear in half carefully. Now your one 5 1/2 by 8 1/2 sheet has become two.

Take each of your two new sheets and fold them in half LENGTHWISE, and score them. Then carefully tear them in half lengthwise. Your original 5 1/2 by 8 1/2 sheet has now become four long rectangular pieces. Do this with all of your 5 1/2 by 8 1/2 sheets of paper.

You should have a pretty little stack of papers looking something like this...

Ok, time to grab a sheet and punch a hole in the center of one of the ends. Then use it as a template to punch holes in the rest of the sheets of paper.


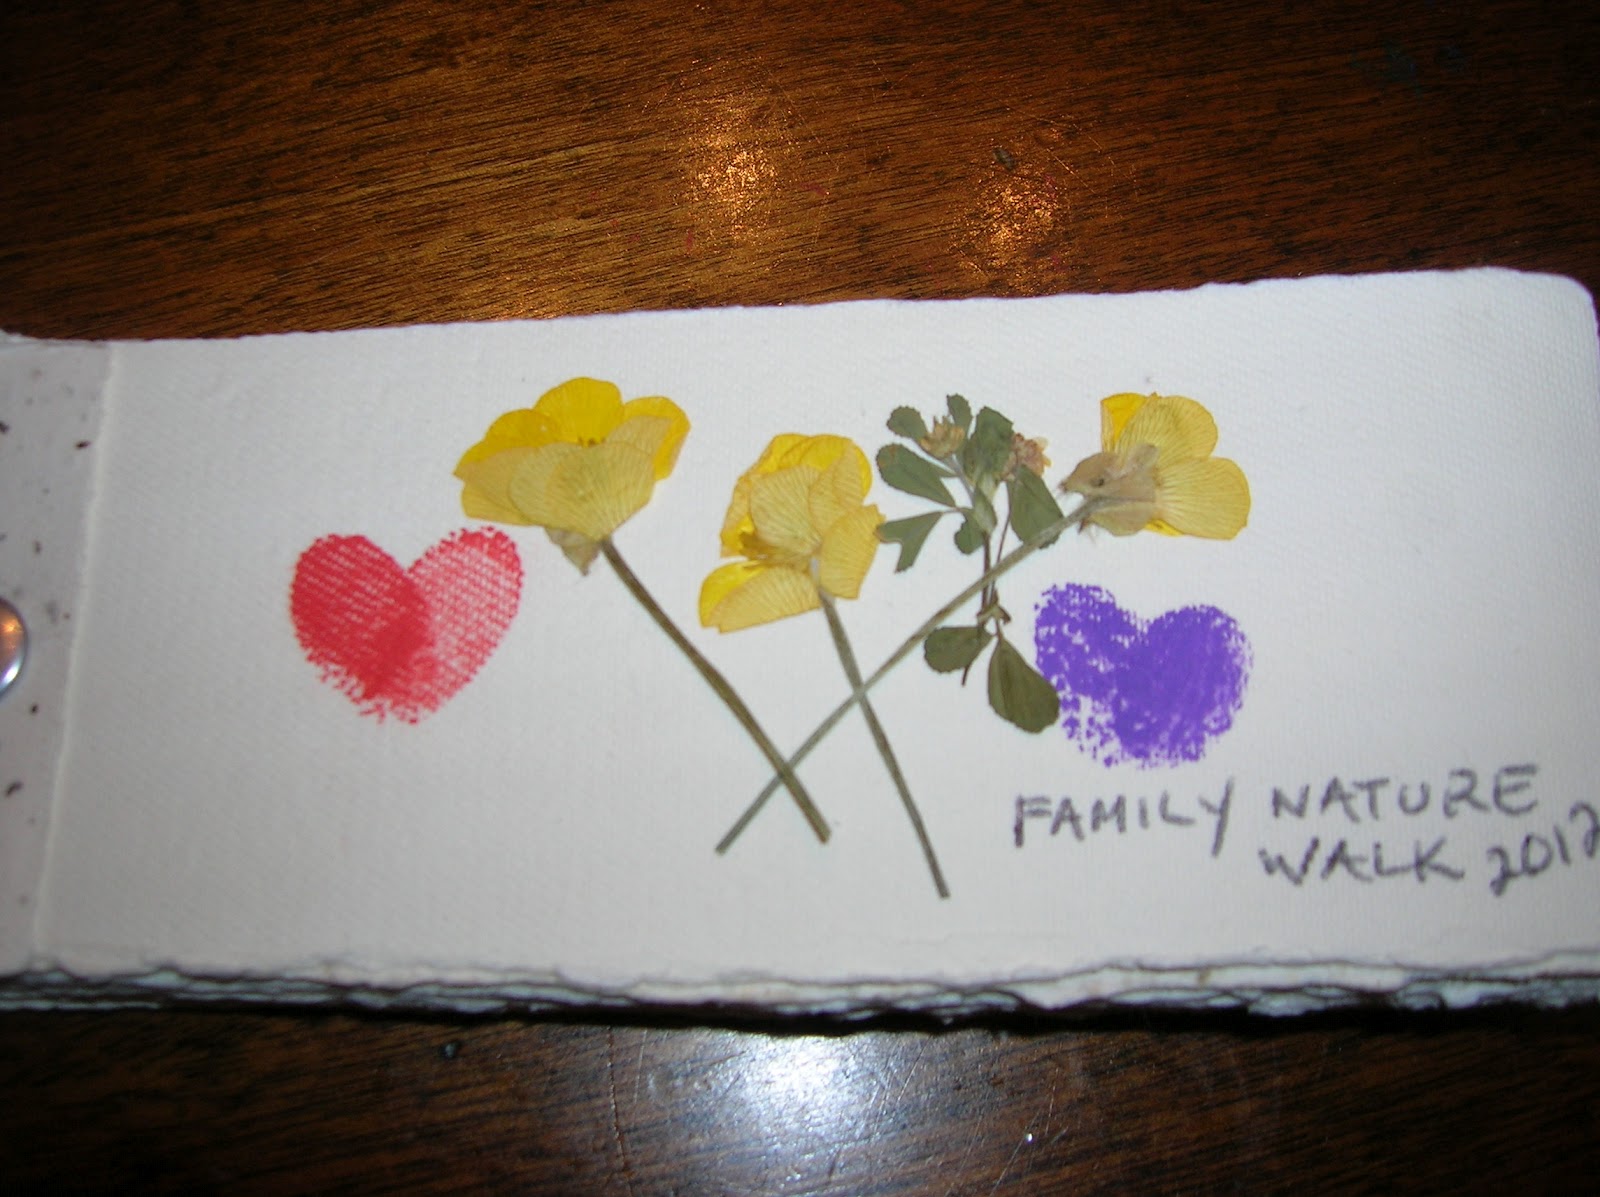
Here are a few pages from mine...


I enjoy interacting with my readers so feel free to leave comments or questions on my blog.
Be sure and share My Creative Mommy's blog posts with all your friends to help us grow, and please sign up as a member to follow my blog.
Visit us on Facebook at http://www.facebook.com/MyCreativeMommy and get regular updates by clicking the "Like" button while you're there.
We're also on Pinterest at http://pinterest.com/mycreativemommy/my-creative-mommy/
In the short time since I started My Creative Mommy, we have had over 1000 pageviews from 15 different countries. I want to offer many thanks to all my readers in the United States, Canada, Germany, Australia, the United Kingdom, Russia, France, Malaysia, Italy, the Bahamas, the Philippines, Sweden, Egypt, Columbia, and the Netherlands! It is both humbling, and exciting to know people are actually reading what I'm writing, and hopefully trying out a few of the projects.
My goal is to take the whole world on a creative journey, one project at a time!
Many Blessings,
Jana : )


Comments
Post a Comment