Posts

Showing posts with the label Halloween

Happy Halloween RIP

Image
© Michele Emerson-Robert 2016 The Halloween holiday is always such fun! I love seeing the kids in costume, and handing out the candy while wearing my “good” witch costume. It bring back memories of my kids when they were little, and one time my son dressed as “Karlif the Mummy,” and lost the wrappings as he went from house to house. Lucky he had long johns on underneath!     Supplies ·        Any of the Arnold Grummer® paper making kits ·        Blender, strainer, cello sponges and soft towels ·        A sunny window ·        Scraps of white and off white paper (think junk mail, etc.) ·        Scraps of black card stock to die cut and for mouse card layer and base ·        Dies: Die-Versions™ Sweet Petites Mouse and Bird, MemoryBox TM   “Haunted Web” 9900...

Spooky City!!!!!

Image
©Michele Emerson-Roberts   2015 I LOVE Halloween! Creating and sending out over 50 Halloween cards every year is such fun to do. This year’s cards are really different; no pumpkins, skeletons or black cats for me, but the card still conveys the spirit of Halloween. Wonder what the ghosts and goblins who live in the imaginary city are doing to celebrate? Supplies: ·         Any of the Arnold Grummer™ paper making kits ·         A sunny window ·         Blender, small strainer, cello sponges and soft towels ·         Scraps of ivory or white paper (think junk mail, etc.) ·         Dies: Impression Obsession TM #339-Z Cityscape ·         Spellbinders TM Grand Calibur™ Machine ·         Black card stock for card base...

Halloween Tag

Image
I love using my handmade paper for all sorts of projects—especially this Halloween tag. I had the perfect paper for the background, but finding the right color for the moon proved more challenging. I tend toward the pastel color palette, so I had to come up with a solution for a glowing orange moon for my Halloween tag. [I know you're wondering: why didn't I just whip up some handmade paper in the right color? Well, I'm in Ohio. I make my paper outdoors, and autumn is really taking hold here, so weather didn't permit a papermaking session.] So, here's my solution. I punched out a circle from a scrap of pink pastel paper for my moon. I spritzed it with water, and used a marker with water-based ink to shade it. Because the paper was damp, the ink soaked into the paper, rather than just staying on the surface. I wanted the moon to be on the same layer as the background, so I punched an identical circle in the background paper where I wanted the moon. ...

A Final Look at Halloween

Image
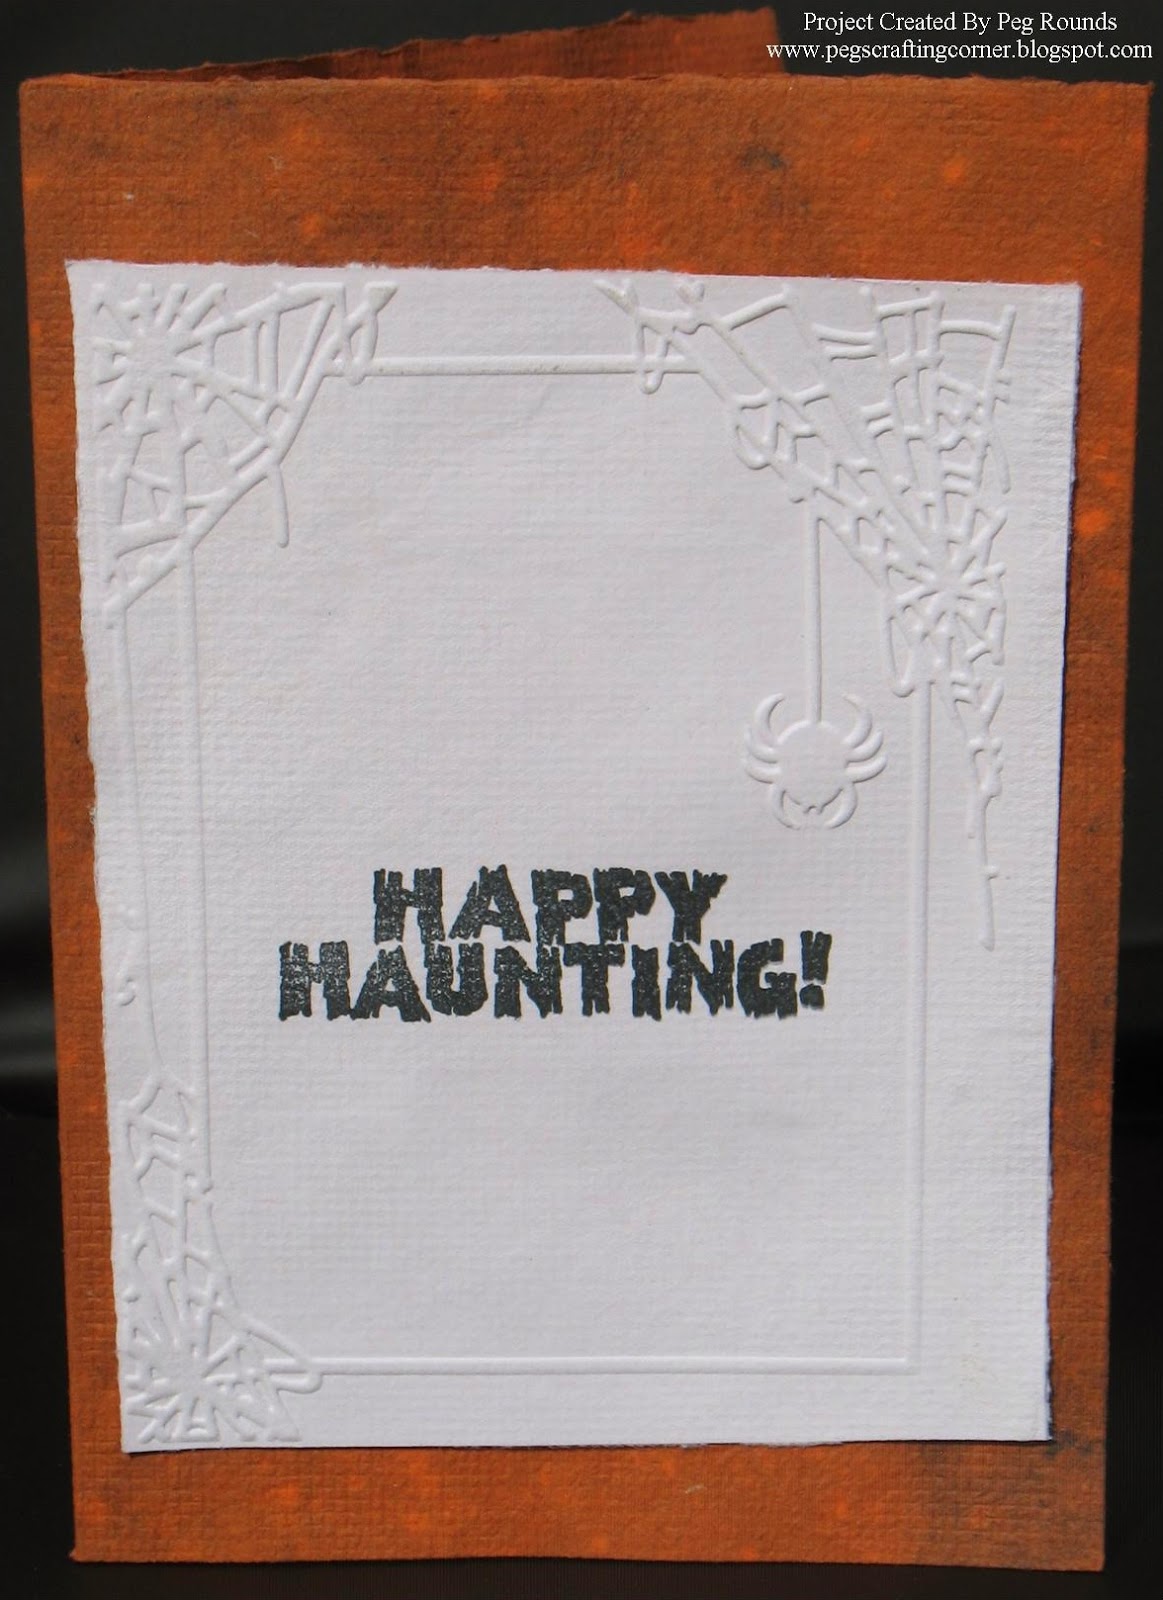
  Tomorrow is the day!  The day this entire month has been leading up to and here is a final scare just for you!  The kick off for the holidays is about to begin.  I have really been enjoying playing with and mixing paper pulps lately to create variegated colors of paper.  For this one, I mixed a black pulp into a sheet of orange.  It was created using one of the Papermill Pro Kits using the basic instructions , but before pulling the deckle out of the water I added small scoops of black and lightly mixed the two by hand.  As I pulled the deckle out of the water the two pulps settled to form the sheet creating this gorgeous orange and black sheet.  The white paper was created using the kit and once it was dry I used it in my embossing machine and stamped onto it.  Isn't fun that you can use your craft tools with handmade paper?  It creates a totally amazing and different look for everything. Now onto creating for Novembe...

Flying Bat's

Image
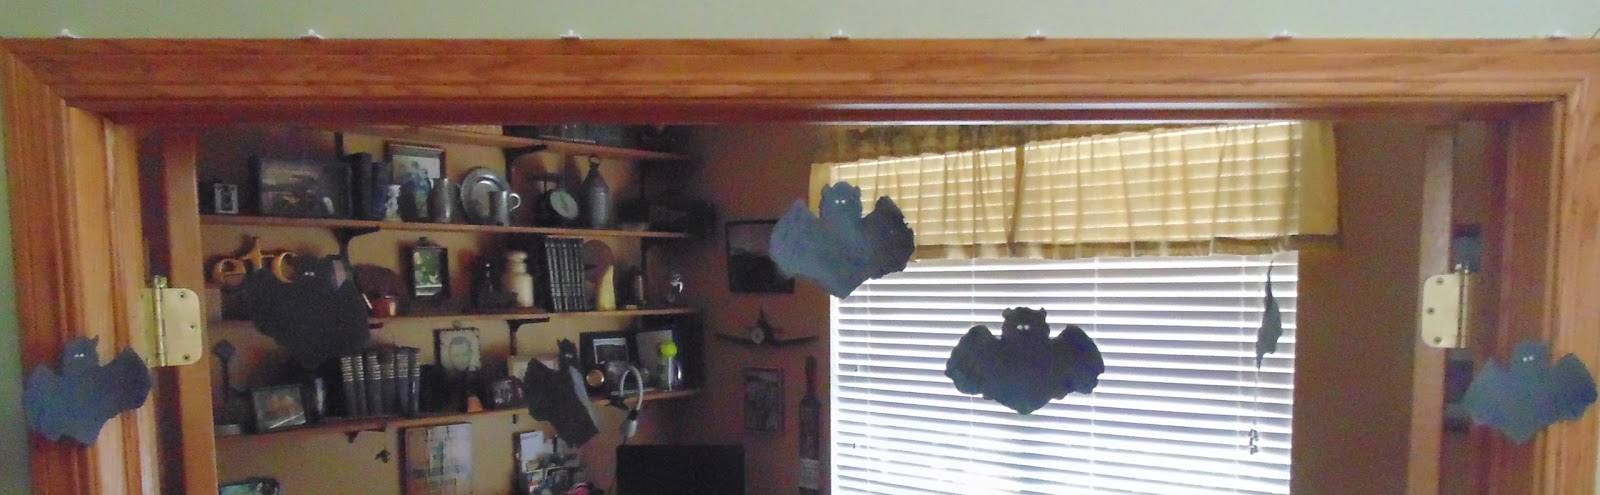
October is here and signs of Autumn are all around.  With October comes thoughts of "all hallows eve".    That brings visions of witch's and spiders and ghosts ... Oh my! ... bu how about throwing in some flying bats too. The flying bat's will hang above the doorway of the den and will be visable as people enter the house. They actually move and spin slightly while hanging and add a fun look! I had a large amount of black card stock remnants from a previous project.  The pieces were too irregular to keep for future projects.  Instead of tossing them I chose to recycle into black paper pulp. First, the scraps were shredded and then soaked in water before processing in a blender.  At first the plan was to make as many sheets of black paper from the pulp.  While going through my stash of cookie cutters, I came across one in the shape of a bat and had what is called an ... "Ah Hah" moment. The pulp was placed in a squeeze bottle, a bastin...

Halloween Treat Box by Linda Hess

Image
Fall is upon us: the leaves outside are changing, the air is getting a bit cooler, sweaters have come out of hiding, and YES Halloween is only a month away!  With 2 children in college, I still send Halloween treats (yes, I am THAT kind of mom).  I am also the kind of mom spinning in my tracks, so to get treats out on time I need to think ahead :-) With that in mind, I looked through my cabinets for something that could easily be sent through the mail without destruction.  I found a metal Hershey box and decided that it would be perfect to recycle.  First thing was to create some Halloween orange paper using my Arnold Grummer's Papermill Pro kit.  I mixed a handful of shredded paper with a few squirts of Pinata Ink (Calabaza Orange #JFC1005) and some Creatology Orange glitter (can be found at Michaels's stores) plus 2 cups of water...WHIRRRRRRRR.  Following the directions I poured the mixture into the frame and pressed out most of the water.  I w...

Two Halloween Treats

Image
By: Carole Lassak This morning we had a nip of fall in the air. Just enough to make me start thinking about autumn decorations and Halloween. I decided to make a Halloween banner using Arnold Grummer's Project Squares  and a sheet of handmade paper that I made using these basic directions . I used my Zing electronic cutting machine to cut the letters and the top layer of the pumpkin motif. The font is Misfits from Dafont.com . The lower layer of the pumpkin motif is my very own handmade paper. I colored it using Arnold Grummer's Tissue Tints . These 8"x8" heavy chipboard squares are perfect for banners. Since they are pre-punched, all I had to do to complete the hanging was tie the tiles together with orange gingham ribbon. I also made a Halloween book using Arnold Grummer's Mini Fan Deck . I'll add photos and journaling about this year's Halloween to this special book. Every other page showcases a swatch of one of my handmade papers. The fan...

Halloween Is in the Air

Image
I made this piece of black paper in the middle of the summer, and have been waiting, ever so patiently, to use it to make a Halloween card. Our hot, hot summer has given way to cooler temps. The crisp nippy nights make me think of Halloween. Here's what I started with: the handmade paper I made using Arnold Grummer's Papermaking Ki t and the embellishments—a tulle bow, a length of black jewelry chain, a couple jump rings, a pumpkin trinket, and three mini vintage tags. Embellishments for Halloween card I used my Score-Pal to score the handmade paper so it would fold neatly, and creased it gently with a bone folder. I punched a small hole in the corner of each of the vintage tags and put them on a jump ring along with the jewelry chain. I punched another hole at the top of the card and used the other jump ring to secure the other end of the chain to the card.  Close-up of mini vintage tag booklet I added the other embellishments and the word  Hallo...