Posts

Showing posts from March, 2014

Postcards By the Sea!

Image
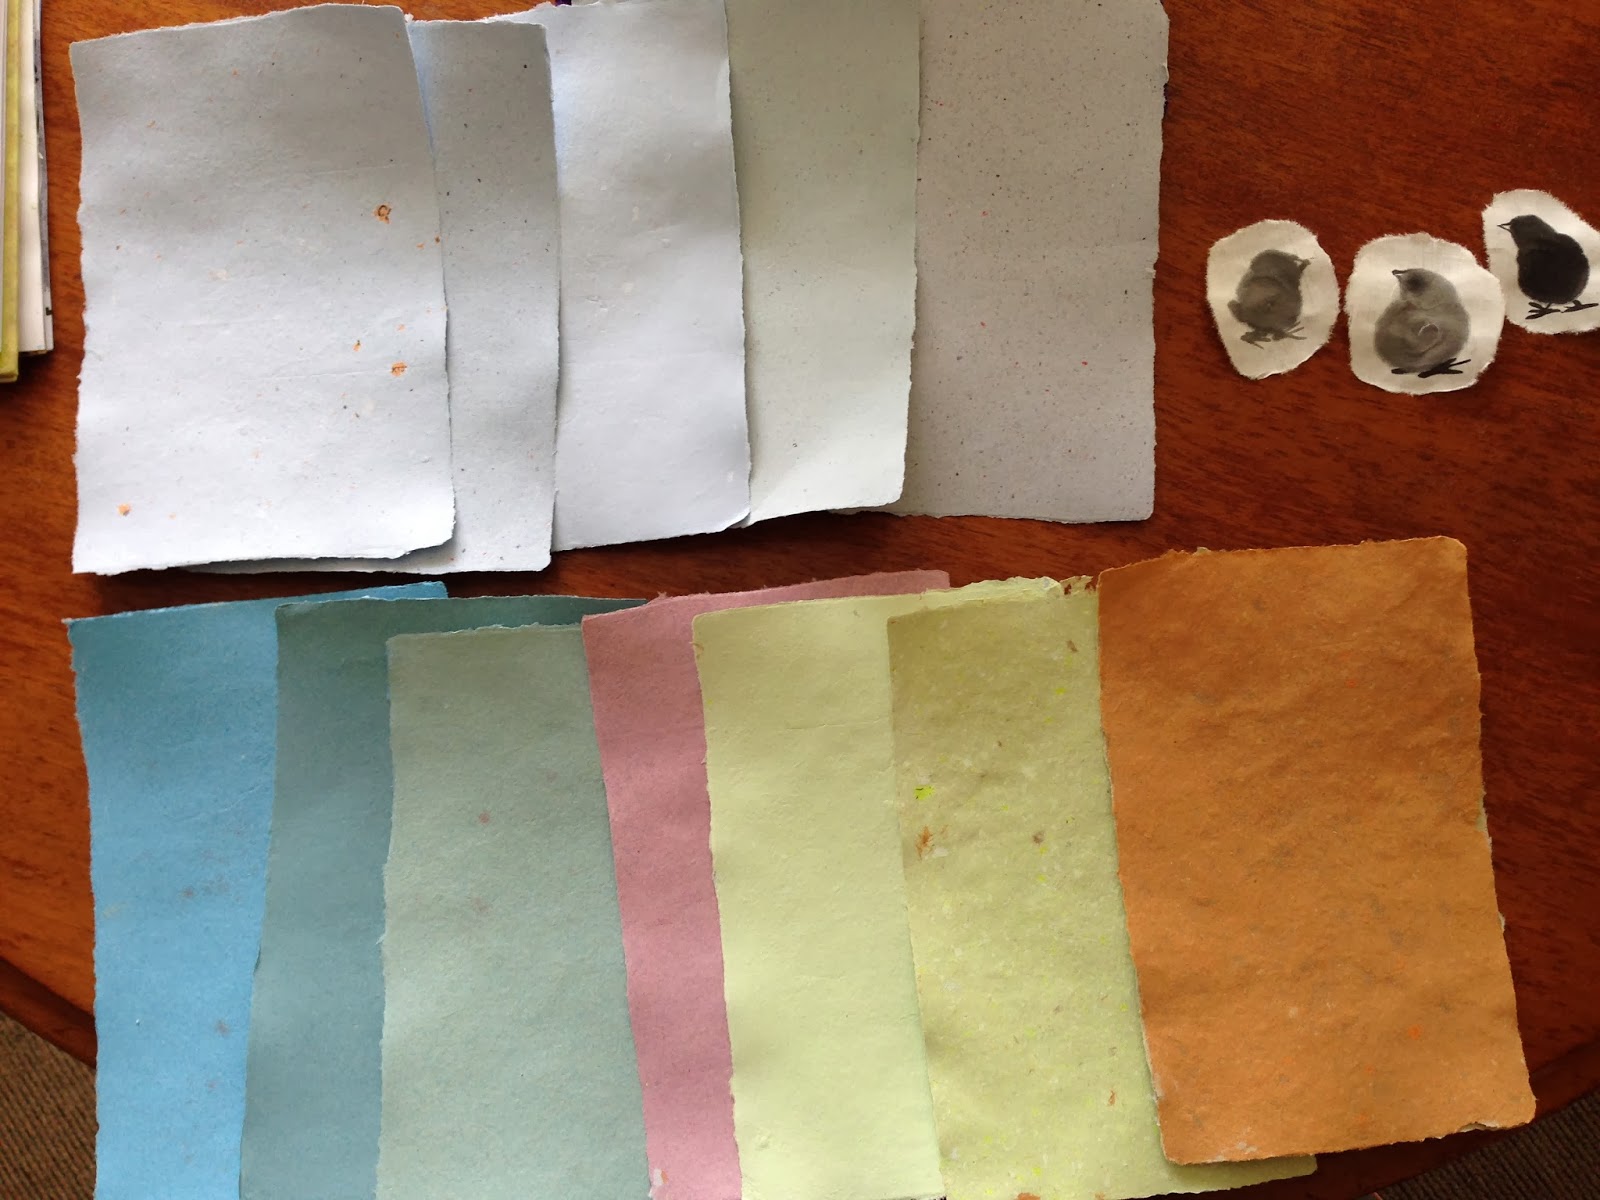
Working with papers you have made yourself is rewarding.  When you tell people you made the paper yourself they are amazed. There are so many things you can add to the paper you make and so many ways to use your handmade papers.  Today I am using more of my blue handmade paper.  Yes, I made it with the Arnold Grummer's Papermill Complete Kit !  I cannot stress enough how easy it is to make paper with the Arnold Grummer's Papermill Complete Kit .  If you have never made paper with Arnold Grummer's  Papermill Complete Kit , be sure to watch the Basic Paper Making video .  Making paper is so much easier than you ever thought. Using the  Arnold Grummer's Accordion Fold Book  I made my Postcards by the Sea book! TO MAKE THE BOOK First, cover the chipboard front and back with hand made paper.  Adhere ribbon to the back cover of the accordion book. Spritz the accordion pages with Tattered Angels Glimmer Mist - Crushed Shells and Mister Huey's C

Arnold Grummer Blog - Making Seed Paper

Image
A suggested theme for this month was making seed papers.  Since this is one thing that I had never tried before I decided to give it a whirl! The results are these seed packets using the seeded sheets of paper.  Along with those I included a paper casting "plant poke" to add in a garden or a flower pot. I did a bit of research on making seed papers and found a couple different approaches. The process began just as if making any sheet of paper.  Create the pulp and add it into a vat for dipping.  Choose a mold to form your paper.    NOTE:  Either use the dip method or the pour method.  Add a template before proceeding if desired for a shape.  Use cookie cutters for creating unique shapes. The samples of the finished papers show two different methods for adding the seeds.  The sheet on the left had the seeds added as the paper was lifted from the water vat.  Most of the seeds stay on the top of the sheet.  The opposite side is fairly smooth.  The sheet on the right ha

Happy Chicky Easter! An easter card Tutorial

Image
Hi all - Debbie here My paper making is coming on really well… I've been making coloured paper by adding a little square of colour to my white-ish recycled paper pulp. My results… and as you notice in that photo I have been painting chicks… These are samples of my chicks that I have been painting in my exploration of Chinese Brush painting. Its been a real blast learning how to use a paintbrush differently and using black ink only. but we should get back to the Easter thing aye… ;) I have been making easter cards by combining the chick paintings and my handmade recycled papers. step 1: choose one sheet of your handmade paper for the base of your card that is close to the thickness of card stock. 2. trim your 2 other chosen colours of handmade papers that would go with the base and trim them a little smaller than each other as shown. don't stick them down yet 3. Next stamp your smallest sheet with a blossom or flower stamp. (I used one that I design
Image
All this talk these days about “going green” makes me smile. The Arnold Grummer Co., family and friends have been “green” for decades. Not only are we “green” by recycling, repurposing, and re-using, we are adding to the “green” in our wallets by making our own paper from items most people consider trash. What a winning combination that is! With March’s Saint Patrick’s Day coming up, what better time to gather all those odds and ends of green scrap paper and get started on an Irish project or two.              Supplies: Any of the Arnold Grummer paper making kits Molds: R 004 Scottish Thistle, R 434 Celtic Harp, R 470 Celtic Knot Work, R 497 Celtic Flourish Microwave, heat gun or a sunny window Blender, small strainer, cello sponges and soft towels, paper cutter, scissors, bone folder, ruler Beacon Quick Grab™ Adhesive, double sided foam tape or foam dots Scraps of green and white paper (think colored junk mail, etc.) 4 sheets of 12 x 12” Forest Green 90# ca

Special Occasion Thank You Notes

Image
I couple of weeks ago, I shared a post about making your own wedding favors from seed paper.  Today I would like to share a card that is also made from seed paper and can be used for wedding thank you notes or just an everyday thank you note.  The great thing about the paper these are made from is that it can be planted in a garden and the seeds will grow into beautiful flowers which makes this card very earth friendly.  The paper was made using one of the Papermill Kits  from Arnold Grummer's Papermaking and the basic instructions.  Before lifting the paper from the water, I sprinkled a packet of mixed flower seeds onto the surface and then finished the sheet of paper off according to the instructions.  I trimmed the paper to create a 3 1/2" x 4 7/8" note card and then stamped the sentiment and design on it.  It takes little time to create a sheet of paper and it's so much fun and more satisfying using something that is handmade.  It being recyclable and earth

Handmade Spring Flowers Mini Album

Image
Hello, Peggy here to show you how I made this wonderful little mini album to be filled up with some pictures of spring. It's in the air isn't it? Well, OK, a little early for some but here in British Columbia on Vancouver Island we are in full bloom! List of supplies for today's tutorial:  Arnold Grummer's Paper Making Kit Magnolia Casting Mold Chipboard for the  Covers and Spine Double sided tape Liquid Glue Gelato's Envelope Punch Board White Cardstock Tags Die  Polymer Clay (White) Acrylic Paint  I made some wonder full paper again with my Arnold Grummer's Paper Making Kit.  This time I made my sheets a bit thinner to be able to manipulate the paper around my chipboard easily.  I also used an iron to dry my sheets as last time I made paper I air dried. They came out much flatter. I used my chipboard from the sticky notes kit for the front, spine and back covers. I taped my edges with double sided tape to make my handmade paper