Posts

Showing posts with the label papermill

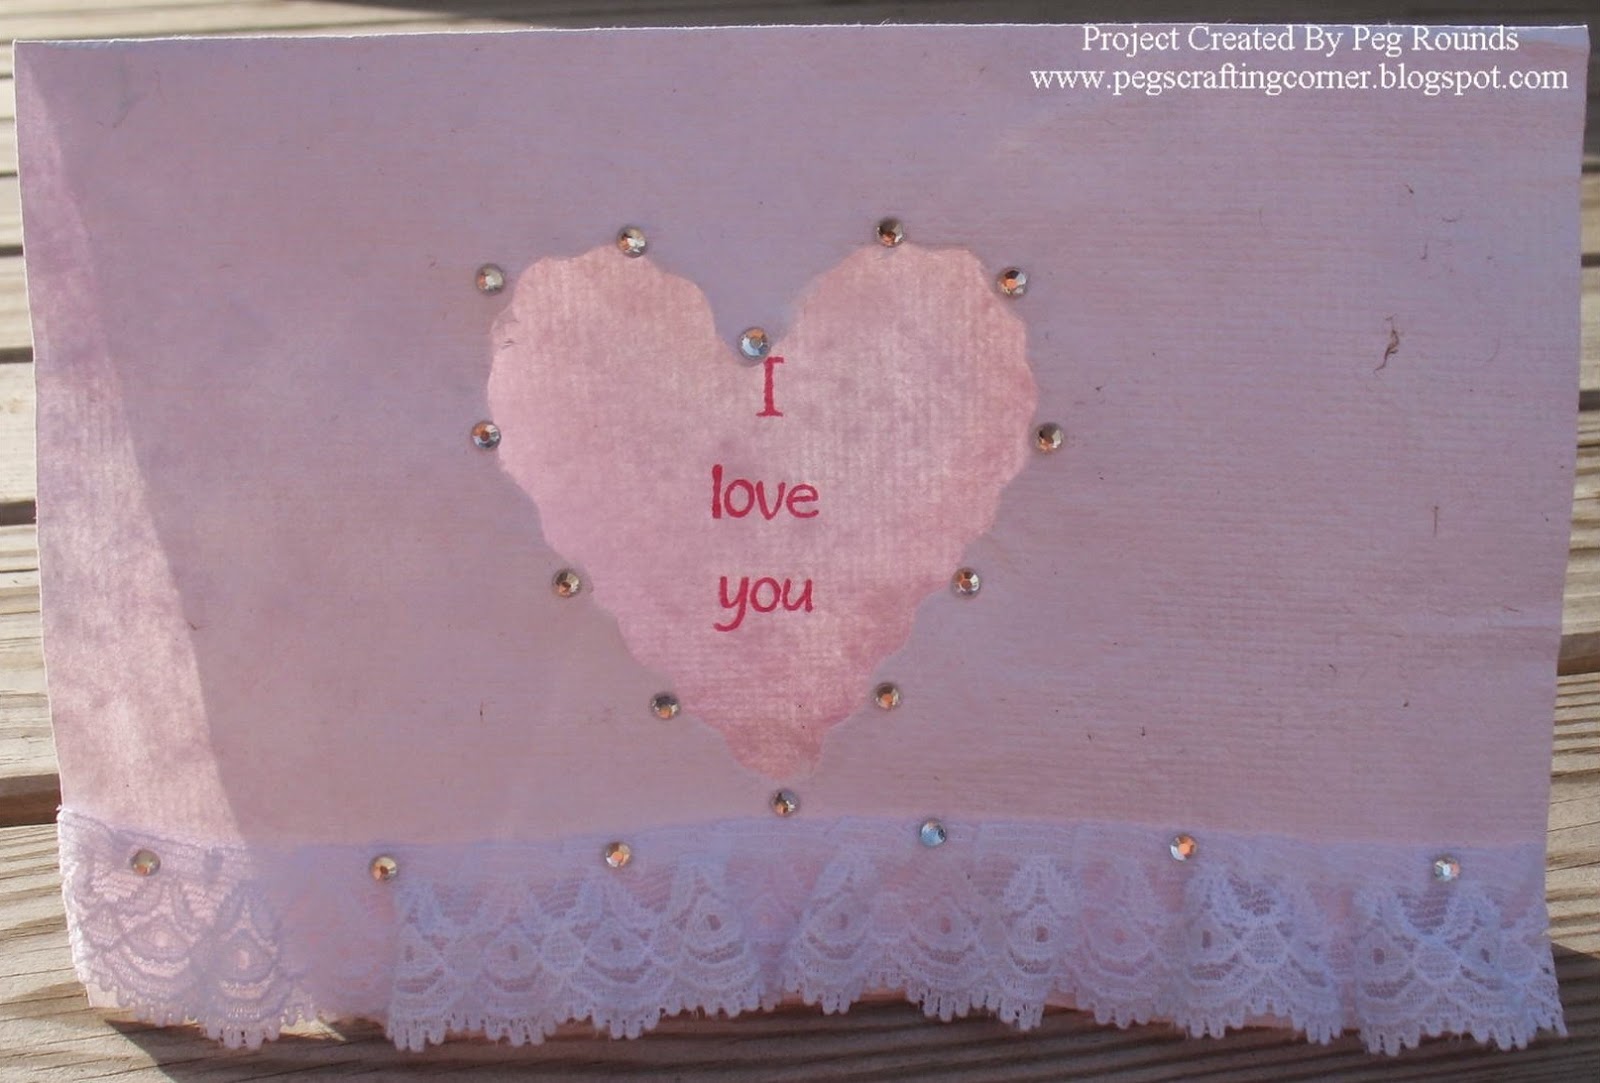
Say I Love You With Handmade Paper
Image
Last month I wrote a post entitled, " Love Notes ,"  on how to use a cookie cutter to create a solid heart in a piece of handmade paper.  Today I would like to show you another way to create a negative area in a sheet that can be used as a window in a card.  There is just something special about saying, "I love you" with a sheet of handmade paper.      Begin by making the paper pulp in a blender to create the sheet of paper.  If you'd like to have a colored sheet of paper add some of the  Tissue Tints for color.   Place the cookie cutter inside the deckle, which is included with the Papermill Kit , making sure that it is positioned in the lower part of it so that you have a foldable sheet of paper when you are finished.   Now, carefully pour the pulp around the outside of the cookie cutter.  If you do have a little that gets inside of it simply lightly rub your finer over the area to roll the pulp up and re...

You're some kind of wonderful!

Image
Since my last post  I have been making paper like crazy, this is so fun and addicting ! I just love the paper making process. Did you know "that paper was first recorded in 105 AD, in China... Many believed that Ts'ai Lun was the inventor of paper, but paper was probably being made before him."  ( p. 12 Trash-to-Treasure Papermaking ) I have been using all this wonderful, yummy paper in my card making. There is nothing better than the texture and feel of handmade paper. I used 3 of my handmade papers for this card, that I created using the Arnold Grummer Papermill kit . On p.48 of the book  Trash-to-Treasure Papermaking   it gives you a formula for how much pulp to make to create your paper. ( I am more of a hands on type girl and rarely measure anything so sometimes I get very interesting results this way lol )  The green sheet was the thinnest and easiest to cut using my paper trimmer. The pink sheet was softer and thicker, so I tore the ...

Decorating for the Holidays with Handmade Paper

Image
      The holidays are coming quickly and Halloween is just around the corner so it's time to start doing the decorating.  I especially love hanging wreaths on our doors to welcome guests.  This wreath started out to be a sale find at my local craft store and ended up being a favorite of everyone with the handmade paper roses, the bow and the pumpkin add to finish it off.    I created 8 sheets of paper using one of the Papermill Kits .  For the black and orange sheets, I made a black paper pulp using left over scraps of cardstock from other projects.  Once I poured the pulp into the deckle and lifted it partially out of the water to create the full sheet, I used the orange pulp which I had created first and then poured into a bowl, to add large dots or patches of orange.  I then finished the sheet off according to the instructions.  The leaves are from a green handmade sheet.  The pieces were all created using ...

Fall Gift Giving

Image
We often think of fall by the colorful leaves, pumpkins and cooler temperatures, but what about things of fall like weddings or get togethers where a gift is needed ?  We often find ourselves in a busier schedule this time of year and when we are invited to a special event we don't think about a gift or a box to put it in.  This fall box is the perfect addition to that special gift for those occasion.  This box was created using all handmade paper and dyed lace.  One of the Papermill Kits was used to create 5 sheets of paper.  The paper for leaves were scraps of cardstock that were left from crafting that were placed in a blender and turned into new sheets of paper.  Once they were dry, a fall leaf punch was used to create the leaves.  Scraps of white cardstock were used to create the sheets for the box, but instead of using 2 cups of plain water according to the instructions included in the kit 1/2 cups of warm tea and 1 1/2 cups of wat...

Use Handmade Paper to Create A Beautiful Gate Fold Card

Image
Send a little sunshine to someone with this gate fold card made from handmade paper card.  The gorgeous texture of handmade paper adds one of the best elements to any project.  It's great for embossing and die cutting, too! This card was created by making 3 sheets ( 2 white sheets and 1 yellow) of handmade paper using one of the Papermill kits and the basic instructions.  One of the white sheets had some of the Opal Sprinkles added to the pulp for a little sparkle.  This sheet was used for the die cut piece.   The beautiful pale yellow color was made by adding some of the Tissue Tints to the paper pulp.  Once the sheets were dry, the first sheet was cut to measure 4 1/4" x 8 1/2" and then scored at 2 1/4" and 6 1/2" and then folded on the score lines. They should meet in the middle.   The two yellow panels were cut to measure 1 7/8" x 4" and embossed with an embossing folder and then adhered to the card base....

Give A Big Thank You with Handmade Paper

Image
There's nothing better than receiving a thank you for something you've done.  Give someone you know a big thank you with this card made from handmade paper.  The texture of the paper adds a beautiful element to the simple design. Create the thank you template using your printer and a word program and cut it out by hand or use your favorite die cutting machine to create the template. Make a sheet of paper using one of the Papermill Kits following the instructions that are included and allow the paper to dry. Trace the words onto your sheets of handmade paper and cut them out.  It's that easy to do!  Make a second piece of paper for the card base and give it a little color by adding some of the Tissue Tints .  Add the 'thank you' and finish it off using a couple of corners from the first sheet to add to the corners.  You are now ready to send a big thank you to someone. Cards don't need to be complex and complicated to send a mess...

Thinking of You This Summer

Image
    It's hard to believe that summer is almost in full swing now and we are half way through the year.  This time of year is often very busy for all of us and it's when I like to make a special effort to keep in touch with my friends and let them know I'm thinking of them.  This card was created with just that in mind.    I used one of the Papermill Kits to create the white cardbase and the green sheet of paper.  I added some of the Tissue Tints to get the green color in the white paper pulp.   I had a leftover flower and leaf when I had dried some for a previous project so I decided to use it, too.  The flower was dried using a Microfleur Press .   It's great to be able to dry several flowers and keep them on hand to use for those special projects.  There's nothing more fun than using a sheet of handmade paper and then adding a hand dried flower onto it.    Enjoy creating some special cards...

"F" is for Flowers and Family

Image
  It's hard to believe it's June already and the flowers are in bloom.  Well, in most places.  The flowers where I live have just started to bloom for the first time this year.  I am anxious for the small flowers to bloom because I have found another great hobby from Arnold Grummer's....flower drying.  I purchased these flowers shown on this plaque since mine weren't blooming in time for me to do this project that now sits in our kitchen which is our family gathering spot.    The background for this is a handmade sheet of paper using one of the Papermill Kits .  It was cut to 8" x 8" and adhered to one of the Paper Quilt Squares .  The word "family" was cut with a die cut machine and attached to the paper.  Family is important to us so this was the perfect word to include with these beautifully dried flowers.    I purchased a bouquet of flowers and dried a few of them using a Microfleur Press .  I dr...