Posts

Showing posts with the label Debbie Buckland

Art Journal Page - tutorial

Image
Hi all with sad regret I say that this is my last post for my 6 month DT position here. But I hope this tutorial will be a good one for you.... You will need: Hand made paper (using the Arnold Grummer Paper making kits) Reinkers that can water activate (i.e.: Stampin Up! or Distress inks) Craft mat Light grey marker pen (I used copic C1) Black marker pen gel medium Black paper handmade paper larger than other piece versa mark pen (or versa mark ink pad with lettering stamps) white colouring in pencil white embossing powder an heat gun Circle stencil 1. select your re-inker colours and put them on your craft mat. Spray them with water and get two sheets of handmade paper - put one on top of the inky mess.... then do the second... I find that the second one is more the splotchiness we need not the first.... use the first for another art journal page or a greeting card background. 2. using my C1 copic pen (you can use any grey medium...

A buggy card - tutorial

Image
Hi all Today I bring you a simple greeting card with the bug paper mould..... You will need: plain white greeting card base dark brown handmade paper brownish grey handmade paper paper pulp and mini bug paper mould paper trimmer and adhesive brown stamp pad 1. make your paper pulp as per usual but instead of making it into a sheet of paper put it into the mould squeeze out the water with a cloth over top of the paper pulp and the sponge till the sponge is not squeezing out anymore water. take out of mould carefully then let both dry well. 2. with the light brown ink pad and a water mister (in my case anyway - it helped spread the ink better) apply stamp pad over moulded paper cast. 3. Carefully rip the little squares of bugs apart from each other. cut the dark brown card stock to 3 3/4" x 5 3/4" and cut the grey card stock to 5 half" x 2" 4. I used double sided foam pads for stickin...

A String of Butterflies

Image
Hi all Debbie here… My daughter loves butterflies so this project was for her bedroom…… a string of butterflies to hang from her ceiling! For this project you will need: Medium template folding heart card #350  This is the wings or your butterflies. Make the heart shapes while making your paper with Arnold Grummers paper making kits. Make all different colours and add different things to your papers while doing so. Make two sets of wings per butterfly for a double sided look. There are heaps of wonderful additives you can use from Arnold Grummer online store. Botanicals Metallics Micas sparkles Other items needed: scissors, String or bakers twine, pen, needle, beads, glue, spare scraps of paper Now lets get started: After making and drying all your fancy decorative papers take out the template again, draw on your scraps of paper an oval near the middle and then remove the template and draw the rest of your butterfly body as sho...

Handmade Journal with butterfly cover - tutorial

Image
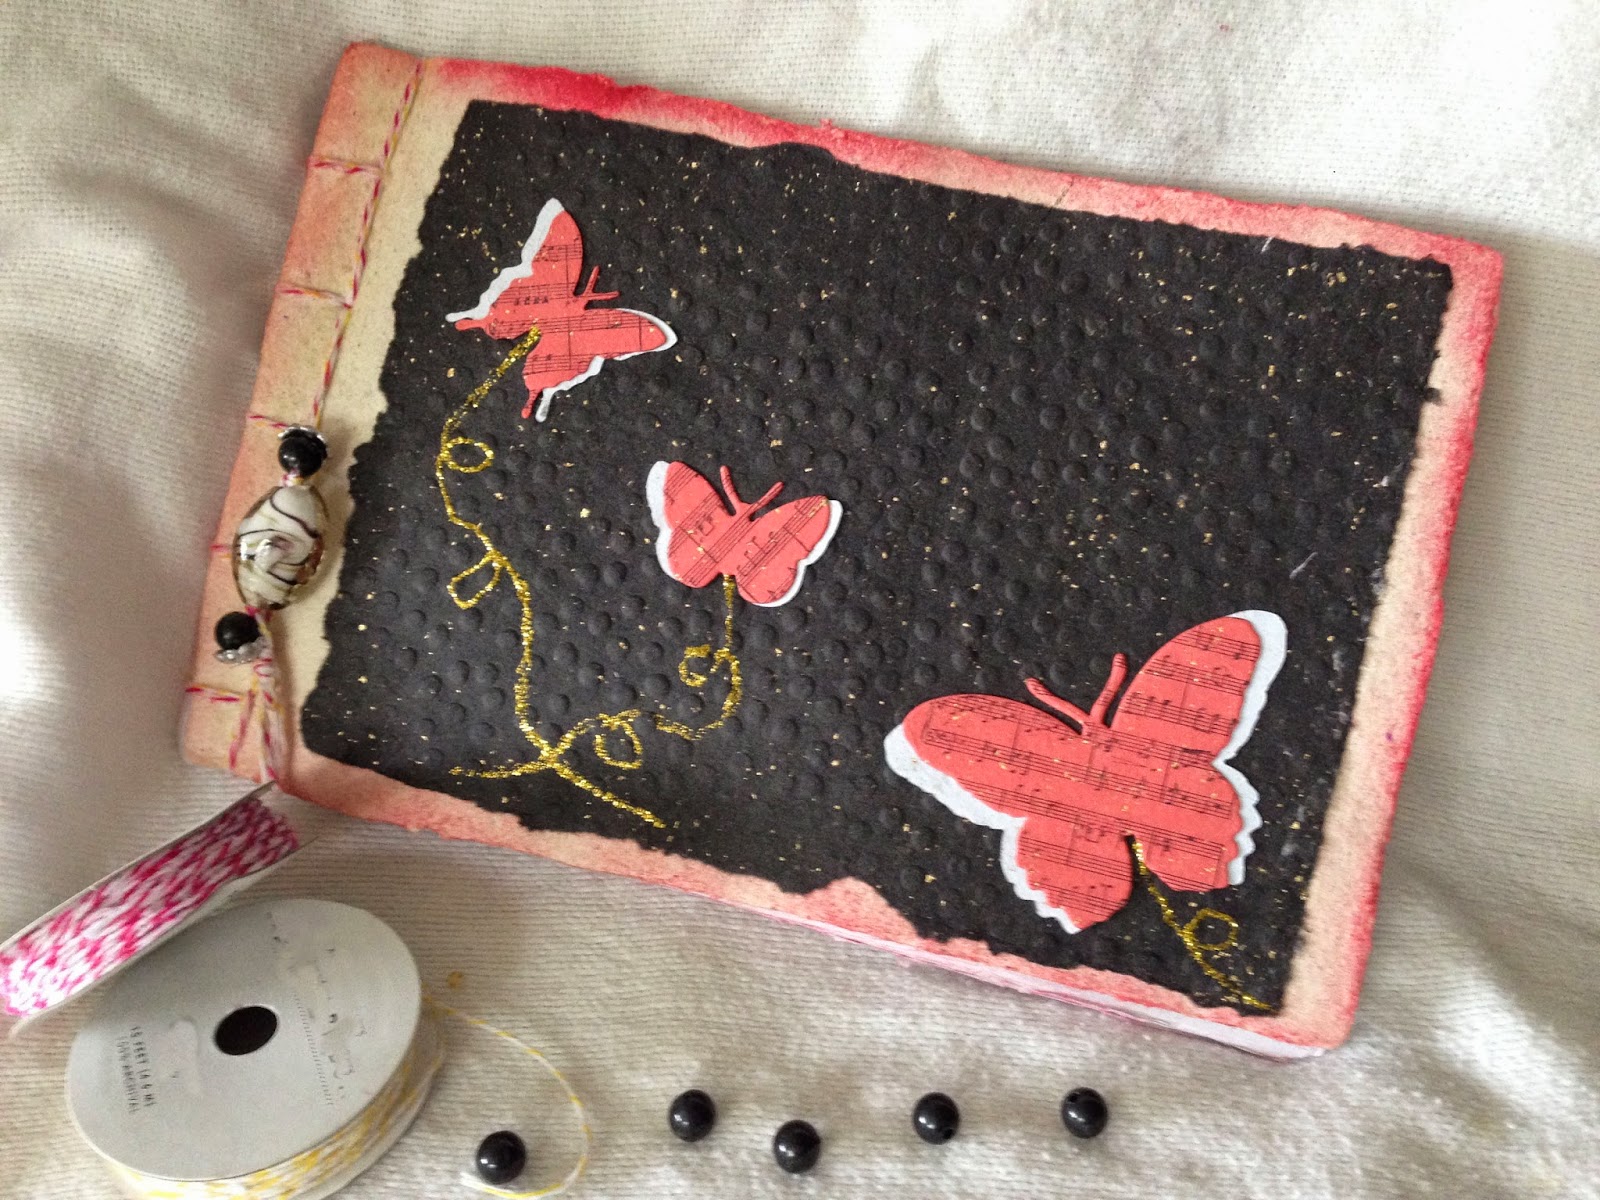
Hi all Debbie here…. You know its funny thinking I'm doing summer craft stuff this time of the year…. Its late autumn going into winter here in New Zealand. Here is what we will be decorating the cover of this time around…. A Hand-bound, handmade paper Journal Cover. For this project you will need: Three sheets of handmade gold flecked papers (i did gold, red and white) texture/embossing folder butterfly dies and die cut machine two sheets of thick handmade paper - for cover up to 10 sheets of plain handmade white-ish papers for the inside of the book glue glitter glue gel matt medium (or white glue) and a brush Ink pads and sponge background stamp string and beads with a needle (optional) 1. bind your two thick sheets of hand made paper and the inside sheets into a book form… I used the Japanese four hole binding method. See how here:  http://www.designsponge.com/2013/03/bookbinding-101-japanese-four-hold-binding.html I then finished off the binding with...