Posts

Showing posts with the label Madeline Arendt

More Pulp Playing

Image
For some reason, I truly enjoy experimenting with paper pulp.  After seeing some interesting designed papers at an art store, this idea came to me. The results from my playing, I feel, was very satisfactory.  Here are two projects made with this pulp technique.  The paper was used as a background for a simple card.  Another application was a decorative plate. It began with some mulberry paper and pulp made from 1/4 cup of cotton linter and a half sheet of colored tissue paper.  Process the colored pulp in a blender.  Using the paper making screen, place a sheet of mulberry paper onto the blue screen.  Wet the sheet by running it under water.  Place the mix of pulp into some type of squeeze bottle.   The photo here shows one way to add the pulp to the paper sheet.  It is randomly placed onto the paper by squeezing it on.    NOTE:  Another way to add designs to the paper is to place a shape of choice (cooki...

Embedded In Pulp

Image
The blender came out again to work on some papermaking ideas.  After making a couple batches of paper pulp for more experimenting, I created two interesting "organic" sheets. The first was made by placing a number of  skeleton leaves  onto the  papermaking screen . This is layered on top of the  white support grid  that is sitting on a pan with a lip to catch the water from pressing.   After they were in position I took small clumps of the pulp and placed it over each of the leaves.    NOTE:  The weight of the pulp helps hold the leaves in place.   Continue to cover the entire leaf pattern with pulp, going beyond the edges of the pattern.  Place enough pulp to cover but not too thick.  Experiment with the thickness and placement of the pulp.  Place the mesh cover screen on top of the pulp and begin removing water with sponges.  Remove as much of the water as possible and flip the screen over, pressing a...

Zig-Zag Album

Image
This little project is something that could be used as a small photo album for any occasion by just changing the type of handmade paper and paper casted embellishment.  It could also become a small journaling book or mini scrapbook keepsake. Prepare two small sheets of handmade paper using the pour method and follow the instructions for completing the sheets. Refer to this video  LINK  for the basics.  The paper created for this project had small bits of various pink shades of shredded papers and some  iridescent flakes . Begin with a  "zig-zag" book .  Cut the two chipboard pieces and the folded insert in half. One set of of the chipboard pieces is covered with handmade papers.  The remaining two where covered with pieces of  coordinating fabric.  To decorate the book covers, choose a coordinating ribbon and place them onto the front and back covers in any pattern desired.  Glue the fabric covered boards to the pa...

Springtime Decorations

Image
Not only at Christmas time has there been a tree used as part of holiday decorations in my house. Growing up I remember several things about all the holidays and wanted to share my version of one of them.  Each Easter my mother would bake and decorate an Easter lamb cake, there would be bowls of dyed eggs to display in baskets or bowls.  The one idea I remember most and continued to use in my own Spring decorations was an Easter Tree.  It would be fashioned from a large or small branch from a tree or a bush and normally decorated with colored, blown out eggs. So I had a "brain storm" to try another version of an Easter tree and incorporate Easter ornaments made from paper pulp.  This little tree, constructed from a small branch cut from a dormant hydrangea bush, becomes a  sweet decoration for spring or Easter. Paper pulp egg, bunny and chick shapes were made into ornaments to hang from the branches.  For casting  the eggs I used ...

Sweet and Simple Paper Castings

Image
These little basket boxes would be a sweet addition on a Easter table setting.  Each is made using a die-cut box as the base.  What makes them become special are "extras" added to the surface, mainly the casted images. Paper castings are so easy to make using any of the  Arnold Grummer  casting molds or any variety of molds that may be available.  Use this link to find a pamphlet that you can download filled with information about creating casting  here. After the paper castings are complete, the coloring can begin.  For the images on boxes I chose to use both chalks and  Ranger Perfect Pearl powders .  The castings were trimmed of the paper around them to make them smaller and allow the papers used on the boxes to frame them.  One set was trimmed straight, the other with deckle designed decorative scissors. Box Of Chicks Die-cut the box from white mat board.  Form the box using redline tape.    NOTE:...

Love Is In The Air

Image
The holidays came and went in an instant, January found me traveling to Califonia to a Craft & Hobby Industry trade show and then off to visit family,and there went January!  It's been a while since the last post I shared on paper making.  Now that February has arrived I still felt the need to spread a little LOVE! Being fond of banners of all type, I once again created this one using the "bordering technique" on each handmade paper sheet made using the  pour method to create the panels of the banner.  For an excellent source for adding color by bordering, and so many other techniques, I would recommend a copy of  "trash-to-treasure paper making" by Arnold Grummer. Some hearts are made using the  triple heart  template and red paper pulp.                                       After each sheet was complete embellish...

Easy Paper Snowflake Photo Background

Image
The hustle and bustle of the holiday season is here.  There is still so much to do before Christmas Day.  My last post for this year had to be fairly easy and quick. Using ordinary white copy paper and adding some  Arnold Grummer Iridescent Flakes  to the mix, I made two simple sheets of paper flecked with sparkle. Follow the basic paper making process that can be viewed at this  video link . A different style acrylic frame with a different style of die-cut snowflakes Once the paper sheets were completed I used my "go to" tools - Sizzix Big Shot and dies. The simple snowflake die-cuts were then used to add a unique embellishment to a black & white photo in an acrylic frame. Now shop at the  Arnold Grummer website  for a last minute Christmas gift for that creative someone in your life or yourself. Use the coupon code: MERRY CHRISTMAS & HAPPY NEW YEAR TO EVERYONE!!!!

Warm Thoughts

Image
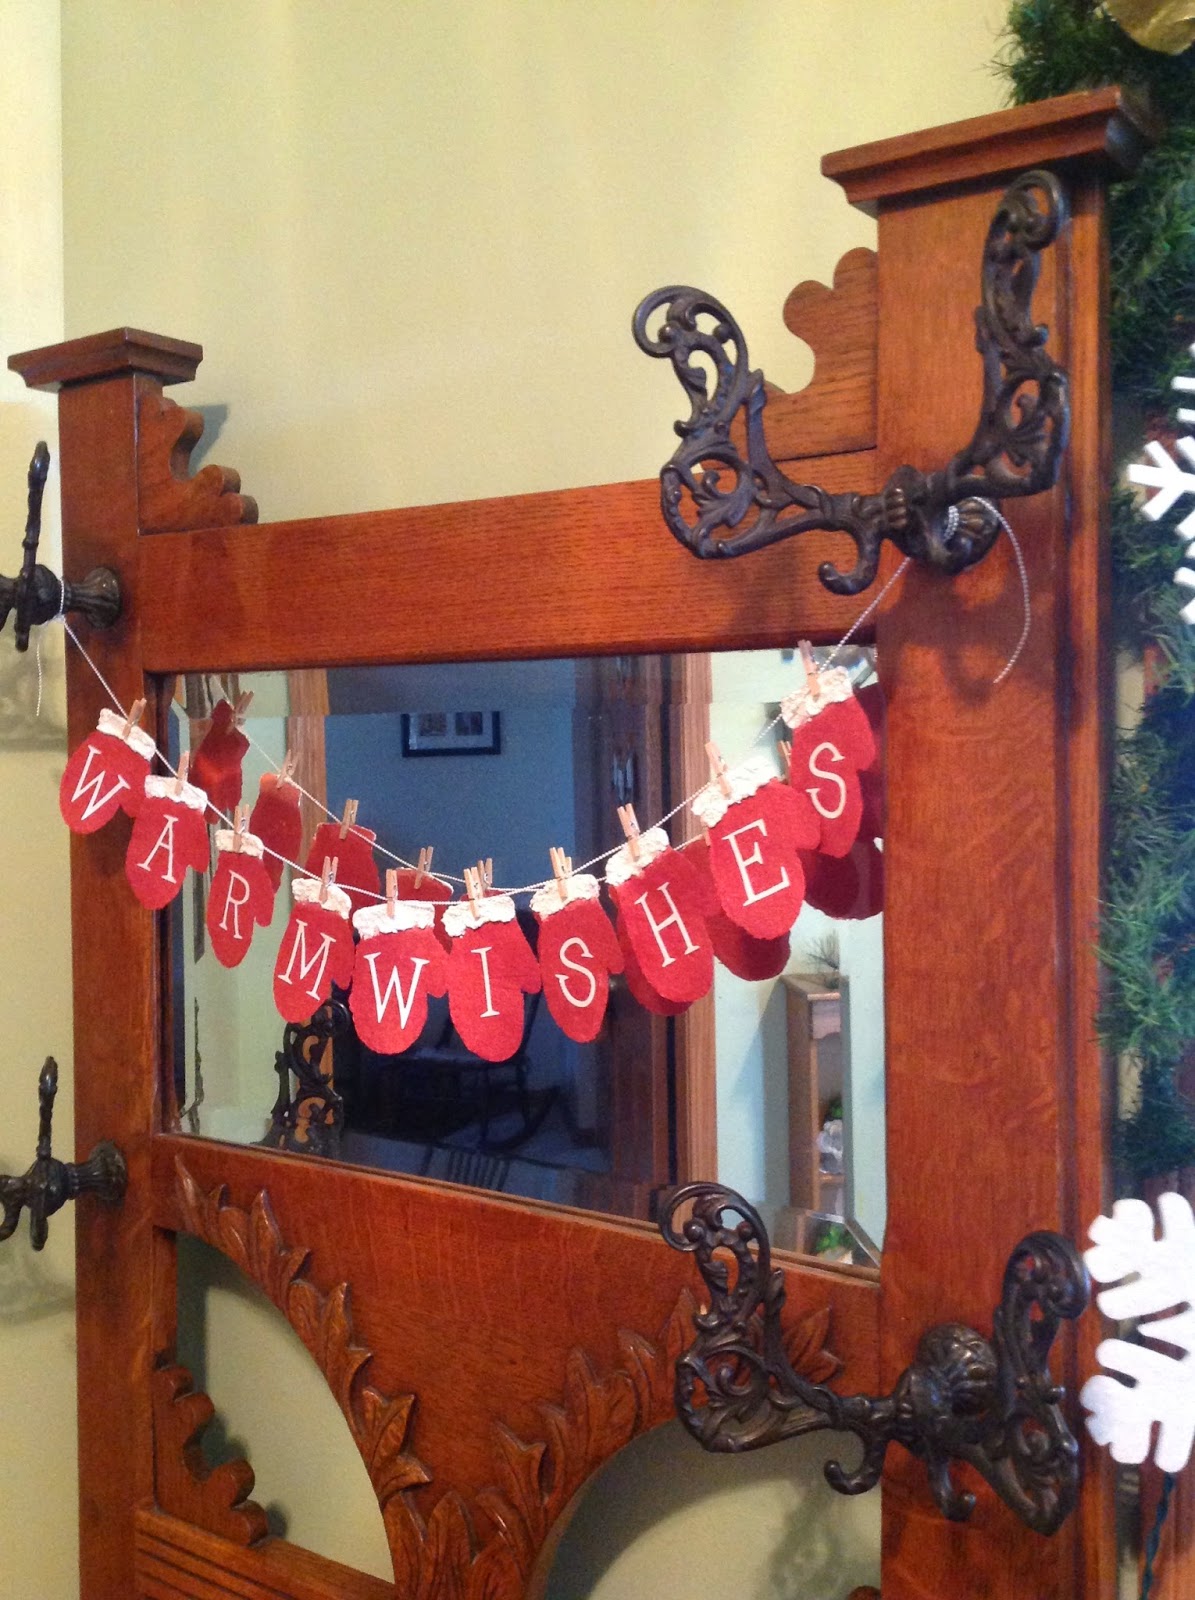
'Tis the season - Holiday time is upon us for sure!  The tree and decorations have gone up. The winter weather has made its way here.  From all these things I was inspired to create this little paper banner to make a statement. For this project I once again used paper pulp and a cookie cutter as a mold to shape the mittens.  You can refer for an earlier post where I used the same method to create individual paper shapes, here is the link to that post-  Flying Bats After the process of forming the mitten shapes, I applied a texture paint that resembles snow to the top edge of each mitten.  When that was dry, I added some sparkle with a glitter paint.  Letters were die-cut from white paper to spell out the greeting.  A bit of glitter glue was also added to the front surface of each letter.  When dry, the letters are glued onto the mittens.  Attach each mitten onto a cord of choice with mini wooden clothespins.  This simple banner, m...

Surface Embedment Technique

Image
It is always a challenge to come up with something a bit different for the posts I do for the  Arnold Grummer Papermaking blog .  It seems that I have this "habit" of never wanting to just make a single sheet of paper or make a single paper casting square.  To me it's always about experimenting or trying something new or at least a new twist on an existing technique. There are a few different books on "paper making" in my craft library, but the books I refer to the most are " The Complete Guide to Easy Papermaking" , " Arnold Grummer's  Complete Guide to Paper Casting"  and  "trash-to-treasure paper making" , also by Arnold Grummer.                                             It was in "trash-to-treasure papermaking" where I found the idea for "Surface Embedment" and the term "Napkinization", so I decided to give this a try.  This is a p...

Simple Casted Ornaments

Image
These little paper casted ornaments are truly easy to create.  Process  five  cotton linter   squares  for each ornament.  The art molds used were:  Snowman  #707,  Bird  #712,  Three Trees  #706, Snowflake. Check out this  link  for instructions on "how to cast paper". After casting the designs and before drying the casting completely, I used a straight pin to pull away pulp from the edges to give them a feathered look. Using balsa wood, because of its light weight and easy of cutting, make four squares that measure 3" x 3".  Sand the edges smooth and sand the four corners to make them round. Cut squares to the same size from a glitter cardstock.  Use a corner rounder punch on each corner.  Adhere the glitter cardstock to the balsa wood squares with a double sided adhesive, like Therm-o-web PeelnStick.  NOTE :  Water base glues could warp the balsawood.   Glue t...

Fallen Leaves

Image
nspiration came from my favorite season and from the abundance of colorful leaves all around. This card was made using several different layers of papers, with the main background piece being a handmade piece. From the other sheet of handmade paper, I die-cut three maple leaf shapes to decorate a recycled candle glass. Easy place setting decorations were made by using a die-cut leaf shape with a pinecone glued to the surface.  Names were computer generated and glued to a colored paper background and placed in a small holder and set on the paper leaves. Using the pour method, I formed two sheets of paper embedded with colorful shards of fallen leaves.  After making the paper mix in a blender, add several torn leaves to the blender and pulse.   NOTE:  Remove the middle stems from the leaves before adding to blender. Try your hand at paper making - visit the  Arnold Grummer Papermaking website  for kits and other accessories. ...

Flying Bat's

Image
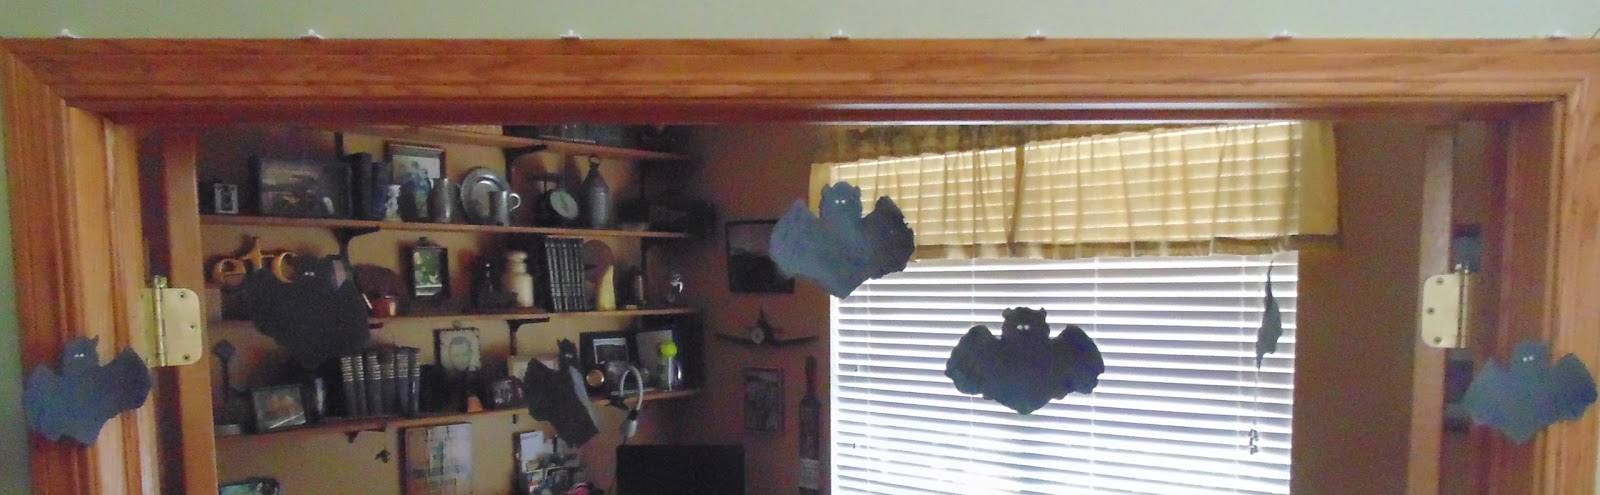
October is here and signs of Autumn are all around.  With October comes thoughts of "all hallows eve".    That brings visions of witch's and spiders and ghosts ... Oh my! ... bu how about throwing in some flying bats too. The flying bat's will hang above the doorway of the den and will be visable as people enter the house. They actually move and spin slightly while hanging and add a fun look! I had a large amount of black card stock remnants from a previous project.  The pieces were too irregular to keep for future projects.  Instead of tossing them I chose to recycle into black paper pulp. First, the scraps were shredded and then soaked in water before processing in a blender.  At first the plan was to make as many sheets of black paper from the pulp.  While going through my stash of cookie cutters, I came across one in the shape of a bat and had what is called an ... "Ah Hah" moment. The pulp was placed in a squeeze bottle, a bastin...