Posts

Showing posts with the label Peggy Oliver

Take Time to Taste the Honey!

Image
Hello! Peggy Here today to show you what I made with my handmade paper.  Supplies used today are Arnold Grummer's Paper Making Kit Botanicals Embellishments Ribbon  Adhesive  I prepared my paper using Arnold Grummer's paper making kit . I used my favorite dried flowers, you can find these at the Arnold Grummer Web Site. I used the simple instructions given in print and on video. Before I lifted my pulp out of the water I placed some beautiful flowers into the pulp to give it a garden feel. I folded my handmade paper in half and decided to place several pieces of polymer clay embellishments I made and painted. The caption says Busy as a bee and a sweet sentiment on the inside reads "Take time to smell the honey".
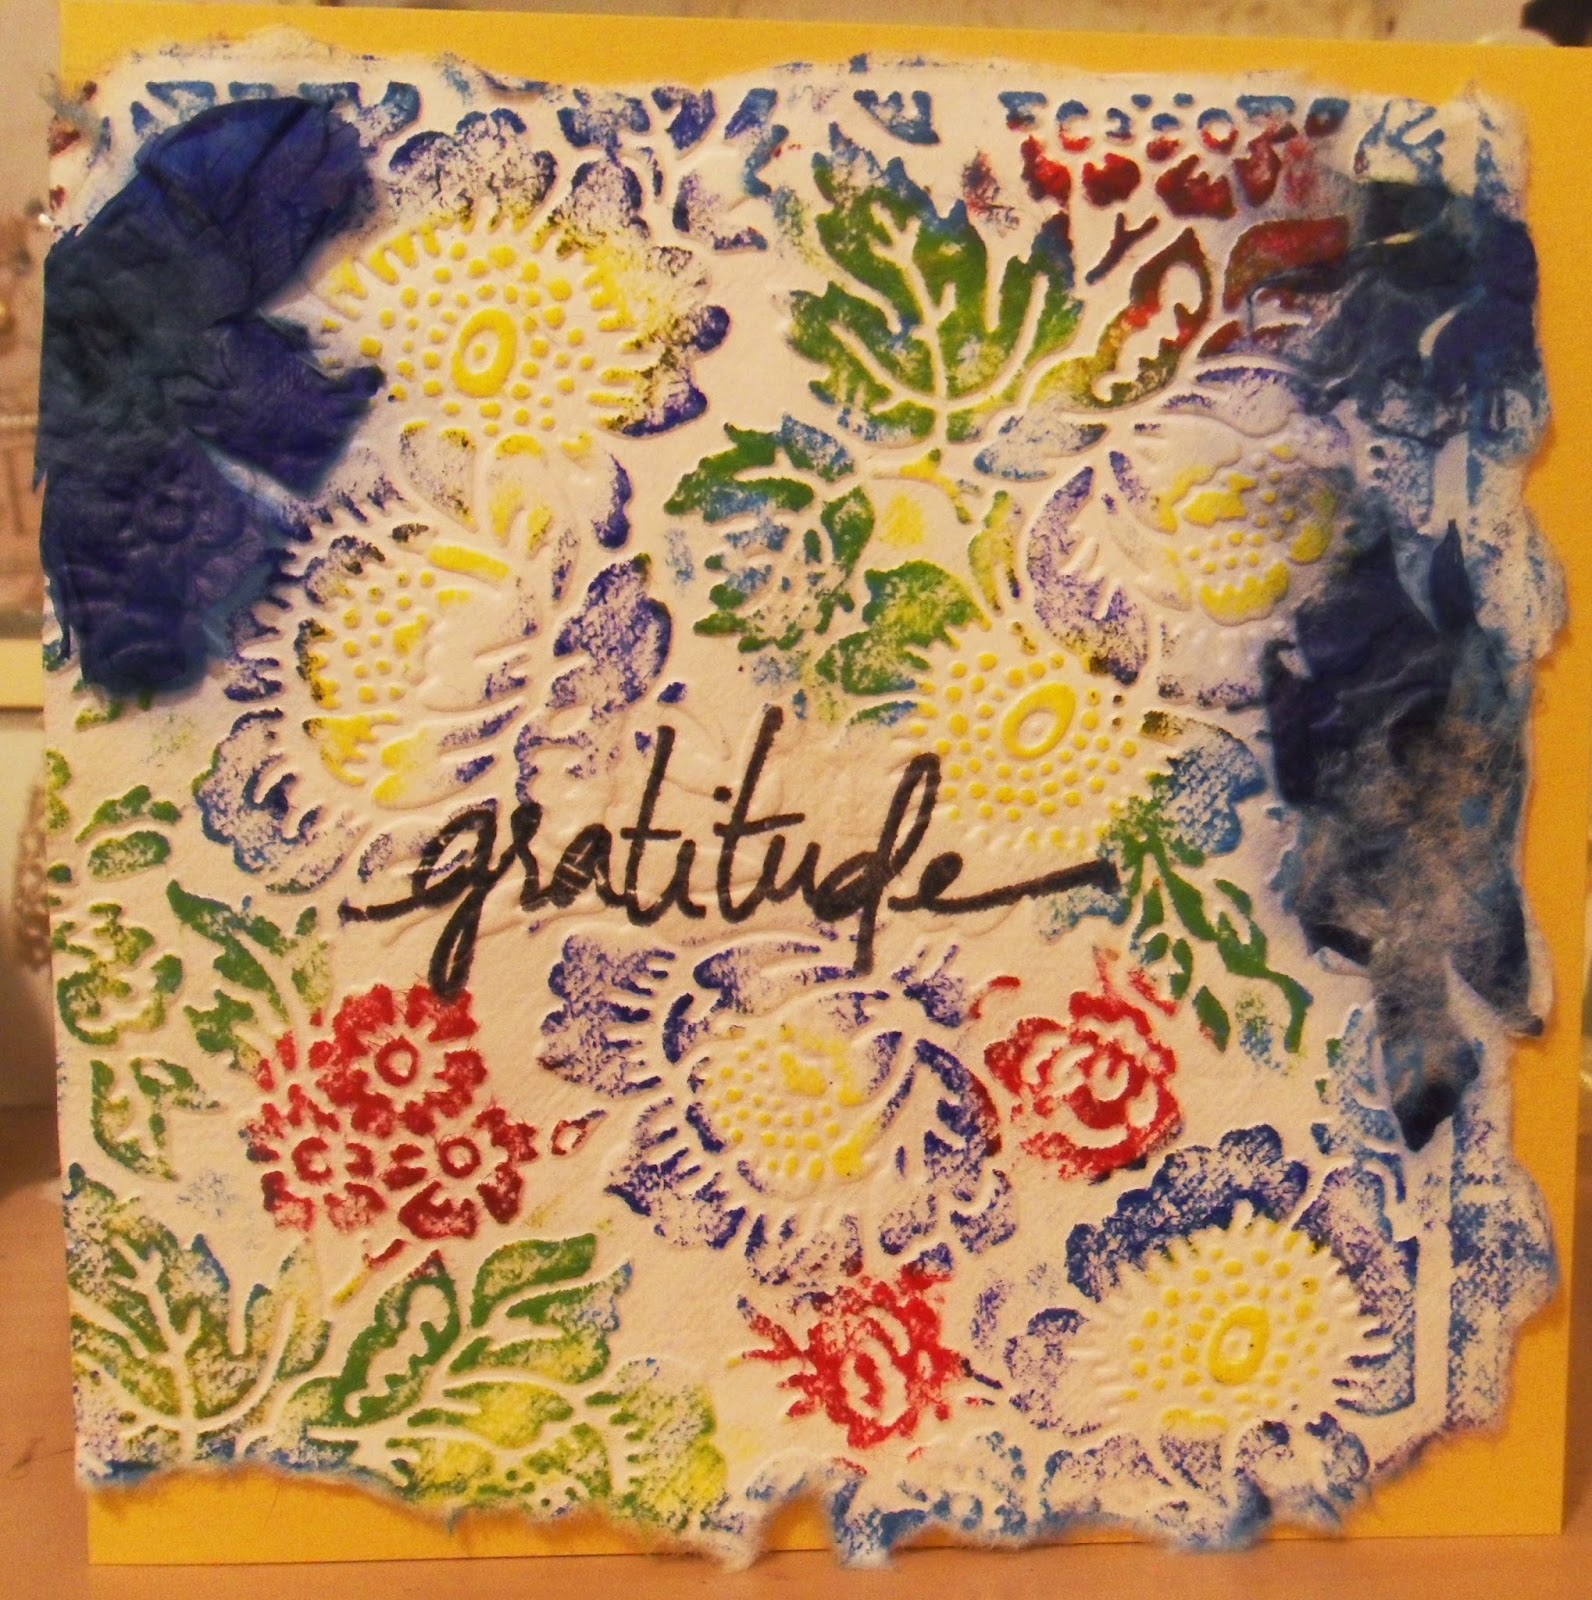
Spring Flower Card

Image
Hi All!  Peggy here, today I would like to show you how I made my  Spring Flower Card using Arnold Grummer's Paper making kit.  Making paper is so very rewarding.  Todays list of supplies are:  Arnold Grummer's paper making kit Botanical Additives Embossing Folder/Machine Gelatos (red, yellow,blue) Cardstock Sentiment Stamp Adhesive First I made some paper with my AG Kit and placed flowers into my screen before lifting the pulp out of the water. ( you can see a video of how to do that here ) I used some blue angel wings, but you can find everything you need here as far as botanical additives. After all that fun! I was ready to dive into making my homemade paper embossed! I cut my paper to size to fit my card front (card stock) and I placed my paper into an embossing folder and ran it through my embossing machine. What wonderful texture. Now to color my creation.  I used Gelatos to color my textured paper. I ran my colors ov...

Butterfly Wings

Image
Hello! Peggy here to show you how I made my butterfly steampunk card.  Todays supply list is: Arnold Grummer's Paper Making Kit Butterfly  Dried leaves Stamps for background/focal image Distress Ink Embellishment I just so happened to go to butterfly gardens here in Victoria, BC.  with my daughters and found a dead butterfly on the pond. I knew I had to make something with the wings! I prepared my paper making kit and pulled my butterfly apart. I ended up with four individual wings.  I made my pulp and before I pulled my deckle box (wooden frame) up from the water I placed my butterfly wings into the pulp.  Funny thing about real butterfly wings.. they're waterproof!. So, when I tried to put my wings under water.. they kept popping up. I ended up placing some of the pulp directly on top of the wings.     The next thing I realized of course.. is that they have powder on the wings and can rub off. So when my pa...

Flower Art Frame

Image
Hello! Peggy here to show you how I made this flower art frame with some fantastic products from the Arnold Grummer's Website . List of supplies I used today are:  Blank frame  White Gesso Egg Whites Paint Brush Specialty Paper #9050 MicroFleur Flower Press Flowers and Leaves First thing I did was find some pretty flower specimens to press. This process is so addicting...I can't wait until all the flowers bloom!  I placed them in my press and microwaved them for 45 seconds on high. Leaves and thin flowers dried faster than stems and thicker flowers. But the whole process took no more than a few minutes to dry All of the flowers and leaves. Here they are pressed and dried. This is my blank frame I used two coats of white gesso. Here is where the egg whites come in.. Yep.. you heard right Egg Whites are used here to preserve the color of the flowers and to glue them down. Mother natures glue! I read this on the internet and I Had to try...

Handmade Spring Flowers Mini Album

Image
Hello, Peggy here to show you how I made this wonderful little mini album to be filled up with some pictures of spring. It's in the air isn't it? Well, OK, a little early for some but here in British Columbia on Vancouver Island we are in full bloom! List of supplies for today's tutorial:  Arnold Grummer's Paper Making Kit Magnolia Casting Mold Chipboard for the  Covers and Spine Double sided tape Liquid Glue Gelato's Envelope Punch Board White Cardstock Tags Die  Polymer Clay (White) Acrylic Paint  I made some wonder full paper again with my Arnold Grummer's Paper Making Kit.  This time I made my sheets a bit thinner to be able to manipulate the paper around my chipboard easily.  I also used an iron to dry my sheets as last time I made paper I air dried. They came out much flatter. I used my chipboard from the sticky notes kit for the front, spine and back covers. I taped my edges with double sided tape to make my handmade p...

Post it Note Holder

Image
Hello! Peggy here to show you how I put together a post it note holder as a little gift for my mom who makes lists and I thought she would appreciate a little gift.  First thing I did was make some wonderful paper with the Arnold Grummers Paper Making kit .  I added botanical leaves and flowers. I followed Arnold's directions with his easy to follow instructions .   I also used some tags template found Here  to make the tag. After making the paper I started with the Sticky Notes Books Starter Kit  I wrapped my homemade paper around the card stock to create a cover, spine and back cover. I used double sided tape to adhere my paper to the cover. I placed a liner inside so as not to see the chipboard.  I hot glued my Post it Notes onto the back inside cover.  My tag I used a stamp and doodling to create a sentiment.  I placed a ribbon for closure and adhered that to the spine  so I doesn't fall off every time yo...

Hand Made Paper Lantern

Image
Hello! My name is Peggy and I would like to show you my lantern made from handmade paper. The tools used today were: Arnold Grummer's Paper Making Kit Sticks from my morning walk Glue Gun and Glue Sticks Light Source I started with making my paper, this kit has all, pulp and botanicals. I recycled my trash paper and made beautiful sheets with flowers. I followed the directions of Arnold Grummer Here .   I used hot glue and sticks to make a square like base and took more sticks to create a teepee shape. I placed the hand made sheets behind the sticks in the corners and glued them against the sticks. Not a very clear picture but here you can see the top.  And here is my light source that I will be switching out for electric.  Thanks for joining me today! I had a great time creating and getting to share with all of you! you can use this  Coupon: STPAT20  for additional savings on the Arnold Grummer Website Here ...