Handmade Journal with butterfly cover - tutorial
Hi all Debbie here….
You know its funny thinking I'm doing summer craft stuff this time of the year…. Its late autumn going into winter here in New Zealand.
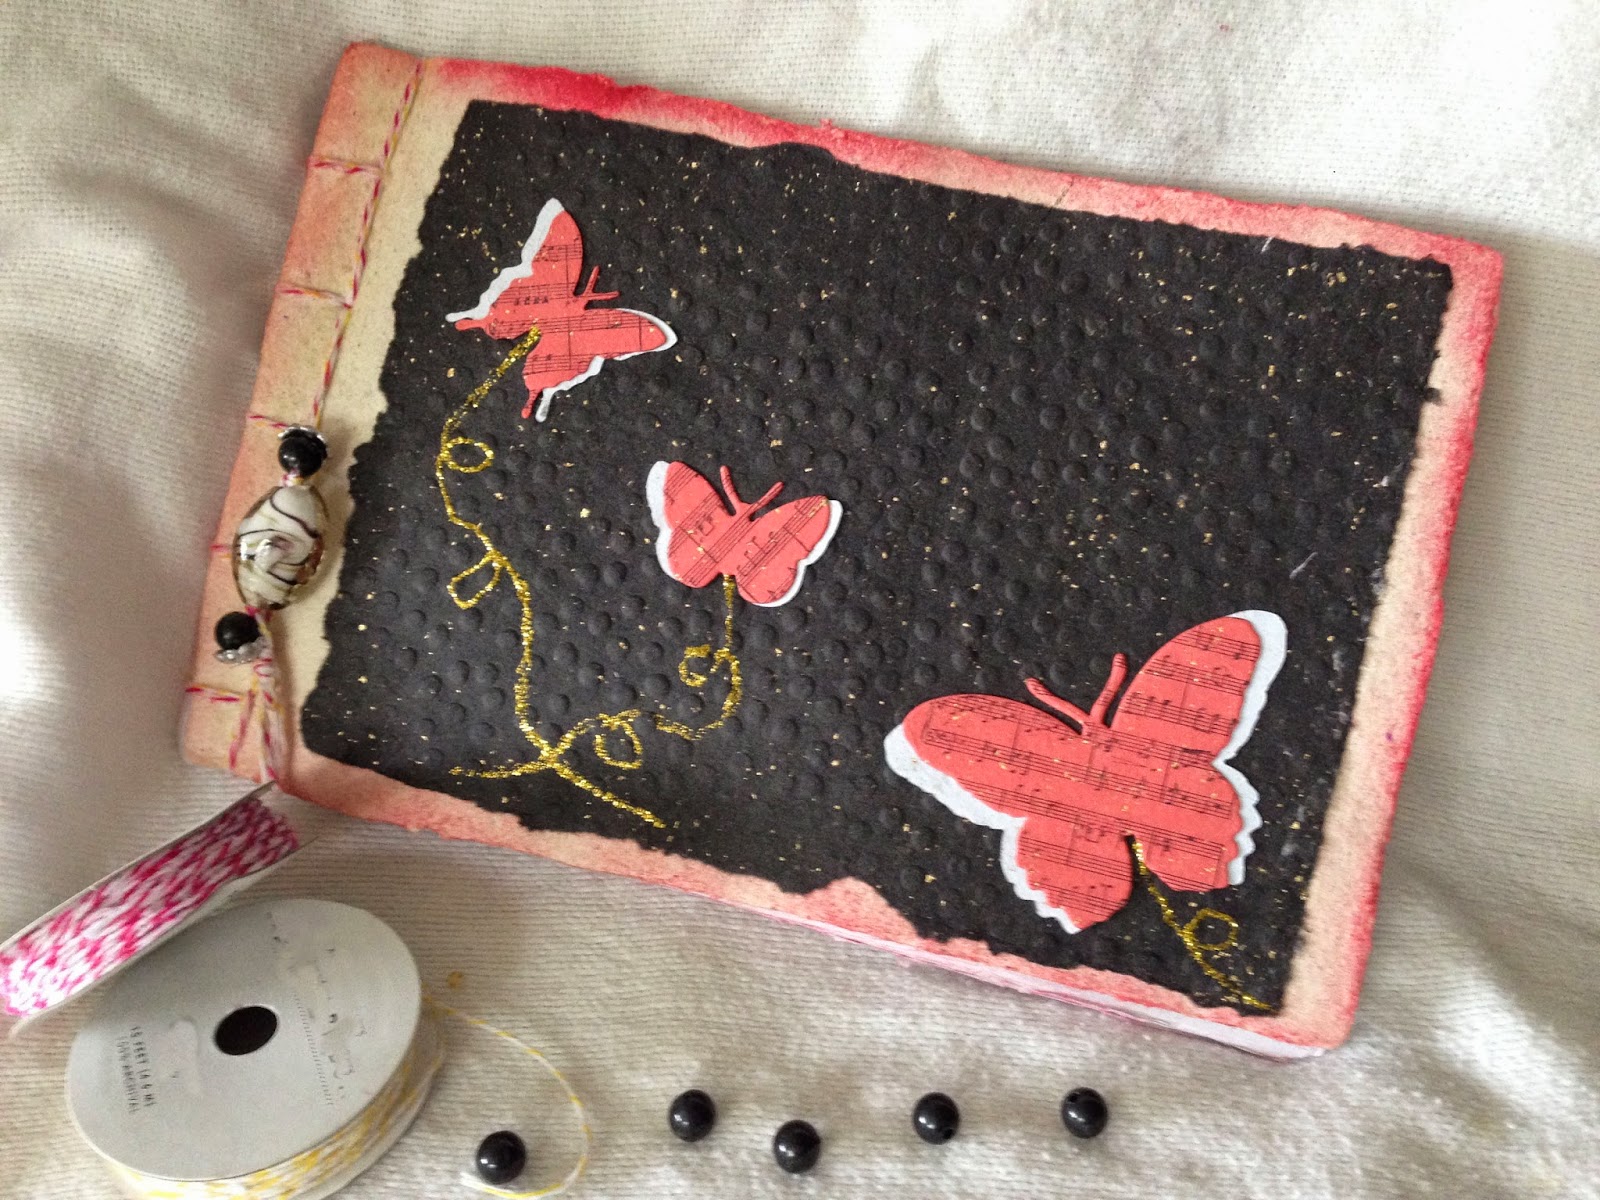
Here is what we will be decorating the cover of this time around…. A Hand-bound, handmade paper Journal Cover.
For this project you will need:
Debbie Buckland
artycrafty.wordpress.com
Coupon Time!
You know its funny thinking I'm doing summer craft stuff this time of the year…. Its late autumn going into winter here in New Zealand.
Here is what we will be decorating the cover of this time around…. A Hand-bound, handmade paper Journal Cover.
For this project you will need:
- Three sheets of handmade gold flecked papers (i did gold, red and white)
- texture/embossing folder
- butterfly dies and die cut machine
- two sheets of thick handmade paper - for cover
- up to 10 sheets of plain handmade white-ish papers for the inside of the book
- glue
- glitter glue
- gel matt medium (or white glue) and a brush
- Ink pads and sponge
- background stamp
- string and beads with a needle (optional)
1. bind your two thick sheets of hand made paper and the inside sheets into a book form… I used the Japanese four hole binding method. See how here: http://www.designsponge.com/2013/03/bookbinding-101-japanese-four-hold-binding.html
I then finished off the binding with beads because I like things that dangle. And used matt gel medium on front and back of the spine to harden and set the string in place…. it makes it more durable.
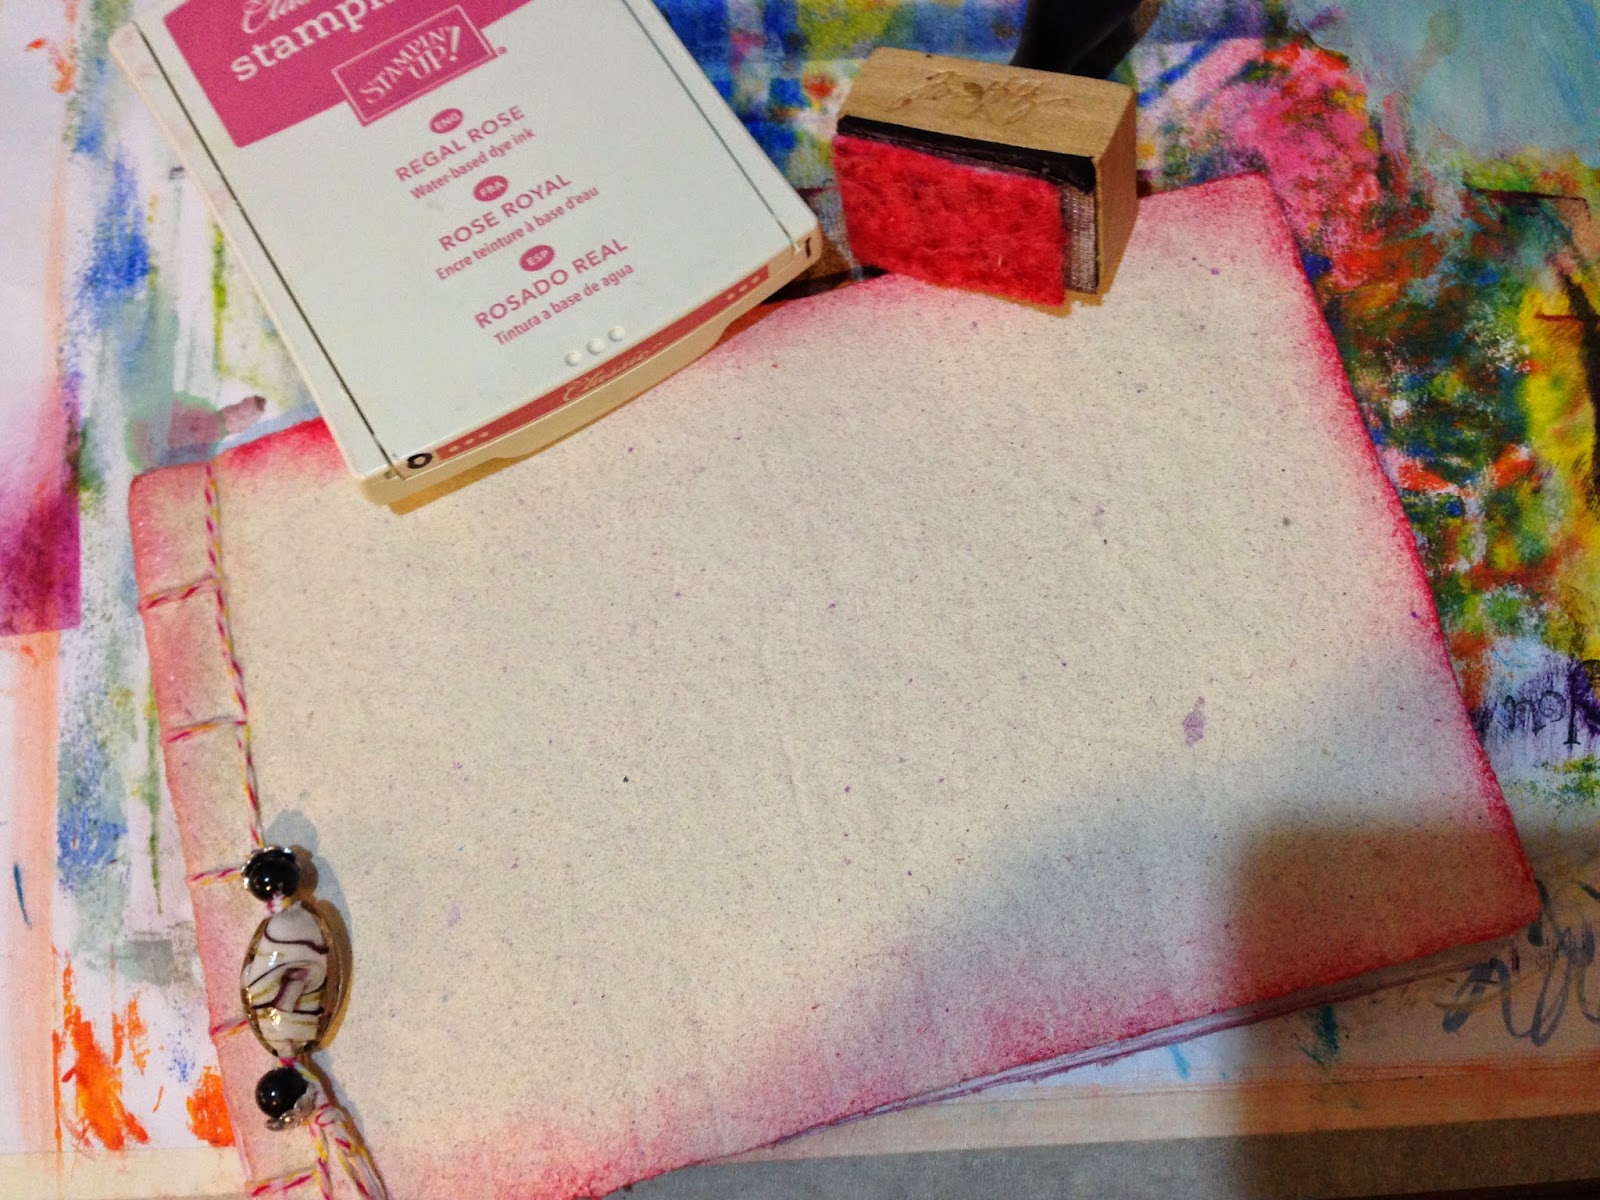
2. After it was all dry I sponged around the edge of the front cover of the book with ink.
3. Then I ripped the black gold specked hand made paper and got out my embossing folder…. and yea I put the paper in the folder and stood on it…. yea couldn't be bothered getting out the machine to use it properly. LOL
Thanks for dropping by and I hope you give this tutorial a go.
but it works!
4. stick down the black panel to the front of your journal
5. This is another day now when I had to get out my Fiskars Fuse… (similar to cuttlebug but bigger)
take your fave butterfly dies and die cut them from your red and white gold flecked handmade papers.
6. cut centres out of the white butterflies and stamp the red butterflies with your fave background stamp
7. stick the white butterfly wings to the back of the red stamped butterflies and stick them to the cover.
8. use the glitter glue to swirl trails from the butterflies
9. and you are done!
Hope you have a great time making your own handmade paper journal…. no commercial paper anywhere near my project. ;)
Debbie Buckland
artycrafty.wordpress.com
Coupon Time!
This month you can use the COUPON CODE: SPRING20 and save 20% on your entire order, so head over to the website and place an order today so you can create some wonderful handmade papers for yourself or for gifts.


Comments
Post a Comment