BRRRRR! the East Coast has had more than its share of winter weather this year. I thankfully live in VA where we have felt the bitter cold, but have dodged many of the snow storms...that is until last week. With the snow and ice in the process of melting I find my mind wishing for spring temps, buds popping, and flowers blooming. What better way to coax the season out of hiding than with a vase design?? super easy to do AND (even better) I have done a bit of experimenting for you so that you can skip over my boo-boos and go straight to gorgeous results.
Materials:
Arnold Grummer's Papermaking kit (I use the Papermill Pro)
Arnold Grummer's Paper Tints
Arnold Grummer's specialty pulps ( white cotton rag pulp)
LuminArte' Pure Color in Olive Vine (
www.luminarte.com)
Glass column vase
Batik craft yarn by Princess Mirah Design (
www.batikbymirah.com)
fibers from my stash
Optional: Buttons, dried flower sprigs, polymer clay flowers
Procedure:
1) My vision is to create a flexible paper/fabric sheet to wrap around a glass vase. I work in my laundry room when creating paper. Hmmmmm, I wonder what would happen if I added a bit of torn dryer sheet to the pulp??
(NOTE: DO NOT TRY THIS AT HOME!!) I placed shredded paper into my blender, a torn sheet of Paper Tints (green), and topped it with 2-3 dryer sheets, torn into little bits.
Water added to cover and WHIRRRRRRRRR...R...RRR...yikes (not a pretty sound coming from the blender)! I quickly turn off the blender and check to find that dryer sheets love to wrap around the blender blades. Hmmmm, not one to give up easily I clear the dryer sheets from the blades and try again (of course)...same results (well DUH). I clear the dryer sheets completely from the blender and move on.
2) What could I use in place of the dryer sheets that won't try to kill my blender? I grab my bag of Arnold Grummer's specialty pulp and add a heavy 3-fingered pinch to the blender. The color from the Paper Tint was not as vibrant as I had hoped, so I also added a bit of LuminArte' Pure Color
powder....WHIRRRRRRRRRR (happy sound coming from blender now). Gorgeous color, great consistency. The batch is poured into the papermaking assembly.
3) After using my fingers to pat the mixture into an even-ish sheet,
it is covered with the cover screen. First I pressed it all over with the press bar to get as much moisture out as possible. Then I used the sponge to remove even more moisture from the sheet.
4) Once this was complete I went to retrieve a couple of couch sheets to continue the moisture removal. Hmmmm, wonder what would happen if I used a couple of sheets that are terribly stained from past projects. I remove the cover screen and replace it with a couch sheet. Turning over the "sandwich" I carefully remove the papermaking screen (the edges are the most fragile, so take your time!) and replace it with another couch sheet. The new "sandwich" is placed on the floor (remember I work in the laundry room) and I proceed to use the press bar and my body weight (I stand on it!) to create a firmly pressed sheet of paper/fabric.
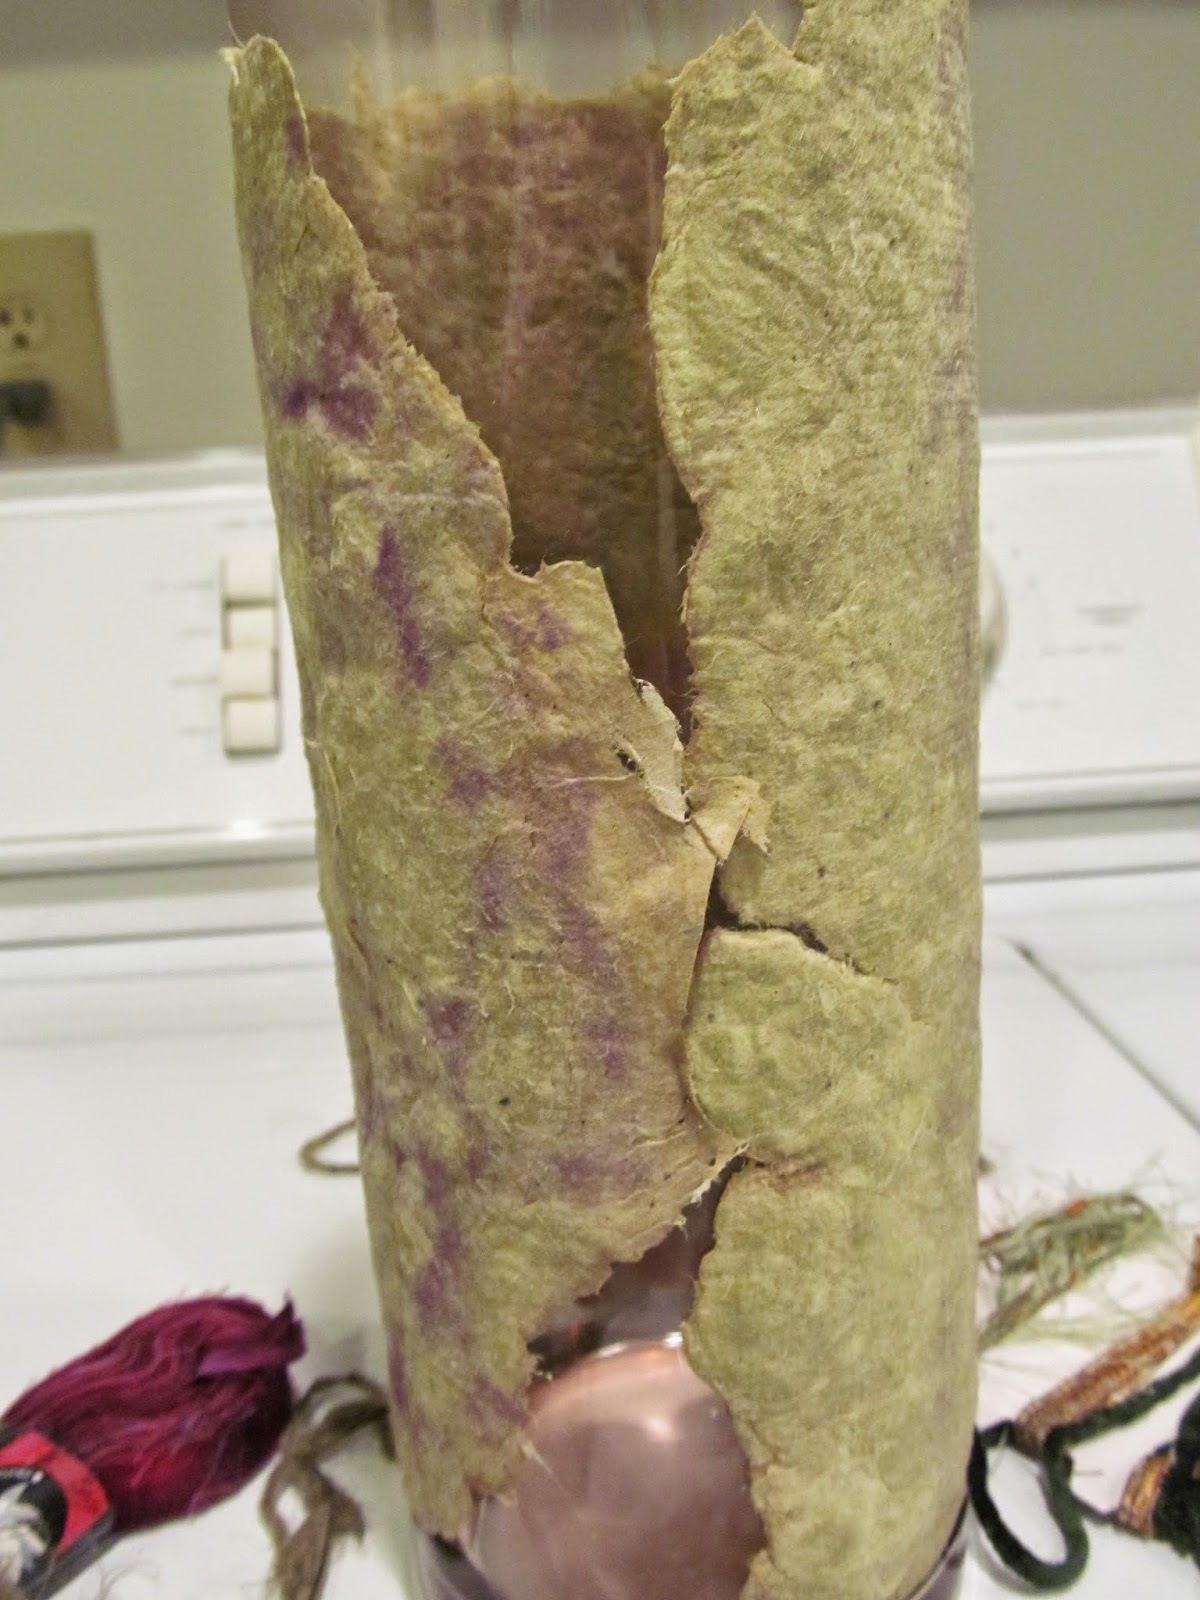
5) Once the entire sheet is pressed, removal of the couch sheets reveals a slightly tie-dyed sheet of flexible paper/fabric. PERFECT!
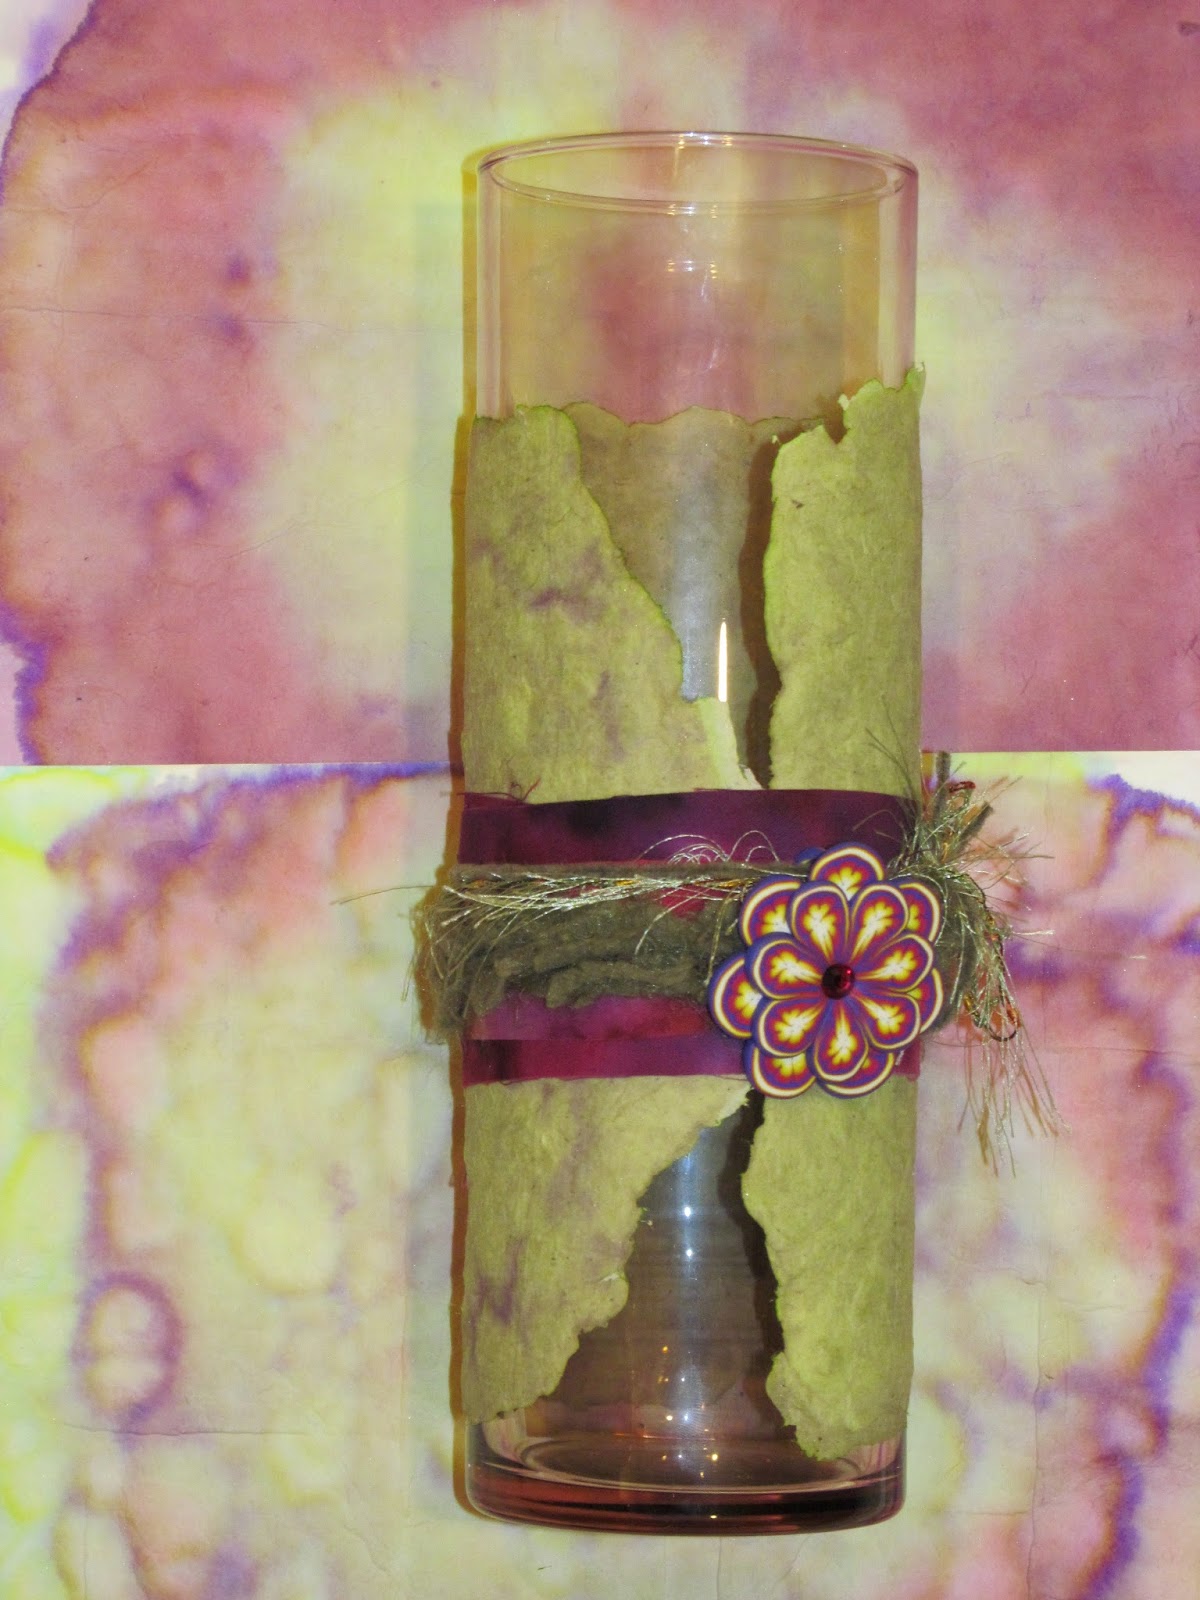
6) The sheet is carefully wrapped around a column vase and pressed into place. Do this while the sheet is still damp and it will mold perfectly to the vase PLUS stick in place (bonus!).
7) Time to pull out the fibers. I have an extensive collection of fibers and ribbons. One of my favorites that I got maybe 5 yrs ago is a batik ribbon from Princess Mirah Designs. I have multiple colors, but I chose Garnet to use with this project. It seems to pull out some of the tie-dye effect. Wrap, wrap, wrap and tie.
To balance the purple tones with green I pulled green fibers from the stash (Adornaments).
The colors are well balanced, but it still needs something....I pull a flower pendant from my clay table, tie it on and stand back...PERFECT :-)
Now all that is needed is a bouquet of fresh flowers. Off to the store I go. I hope you have enjoyed this. If you have any questions about the process or polymer clay, feel free to contact me.


Lovely! Now if spring could get here and fill it with some flowers.
ReplyDeleteLOL!!! I had the same experience with the dryer sheets, glad to know I am not alone! LOVE your vase wrap, so pretty!
ReplyDeleteThanks Sandee! I am quite pleased with it. Nice to know I am not alone in experimenting and that our blenders have survived (hehe)
Deletethis is so pretty.. great idea for an old vase
ReplyDeletethank you. I love redoing plain glass vases into functional art.
DeleteVery pretty colors indeed.. love the oops.. :)
ReplyDeleteWow, beautiful work!
ReplyDeletethank you both :-)
ReplyDelete