"My Heart Chose You" by Linda Hess
Materials:
foil
Arnold Grummer's Paper Making kit (www.arnoldgrummer.com)
Mod Podge
The Ultimate glue (www.crafterspick.com)
ShrinkyDinks (www.shrinkydinks.com)
chain
jump rings
assorted charms (www.michaels.com/beadlanding)
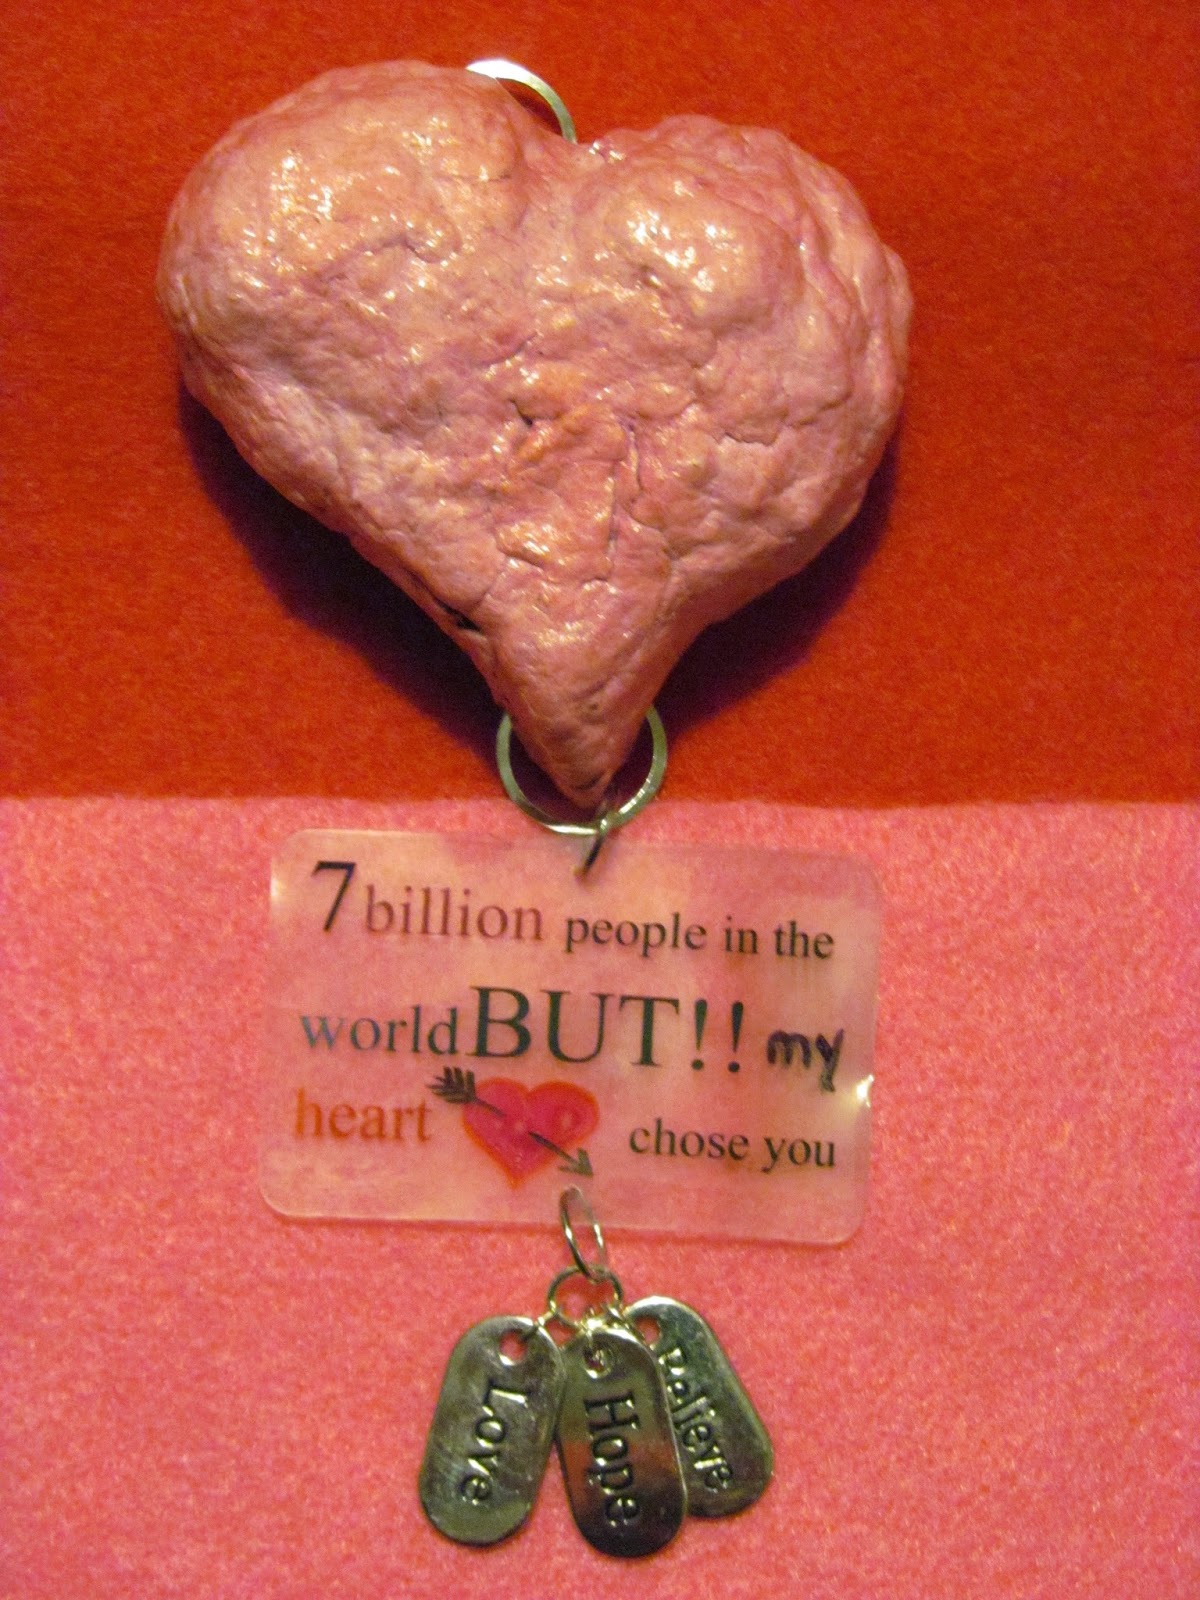
To create a puffed heart I began with a sheet of foil. Carefully crumple it between your hands to form a loose ball, then shape the ball into a heart. A little press here, a dent there, a pinch at the bottom and your heart will take shape.

Last month I created multiple jars of pulp (https://polymercreations4u.wordpress.com/2015/01/19/painting-with-paper-pulp/) I had just enough of the soft pink left to create a sheet of paper large enough to cover the puffed heart. In my plastic tray I placed the support grid topped with the papermaking screen.

The pulp was poured onto the screen. (NOTE: colors may vary in photos as I created multiple batches)

I manipulated the pulp with my fingers until it was large enough to cover the puffed heart. The heart was placed on top to check sheet size. You want extra to fill nooks and crannies and any areas where the paper wants to "rip" as you manipulate it around the form.

Remove the heart (obviously) and place cover screen over pulp sheet. Press out moisture with the sponge. Then place a couch sheet over the screen and use press bar to squeeze out even more moisture. Turn "sandwich" of screens over and remove the papermaking screen. Place another couch sheet on top and press with bar once more. Remove couch sheets and cover screen and your paper is ready to use!

Place the damp sheet directly over puffed heart and carefully work it around, pressing into place as you go. As the paper is worked to the back, tear off excess. This will be used to fill any dents in the heart as well as patch holes.

Firmly press any patches into place. Make sure that the paper wraps completely around the heart and grips a bit underneath. Double check pointed end and the dent at the top for coverage and shaping.

Those of you who follow my blog posts know that I tend to be a bit impatient when it comes to drying time. For this reason I placed the heart on a ceramic tile and popped it into a low temp oven (275) for 15-20 minutes.

(NOTE: While the heart was baking I used the time to google "heart sayings" and "valentine songs" and "love song lyrics" until I found the perfect saying to add to my gift)
Once baked, the heart was sealed with a layer of Mod Podge. After drying, a chain from my stash was laid across the back from top to bottom (as shown), glued down with "The Ultimate" glue.

Trace the heart onto a piece of felt. Cut out. Glue onto the back (covering chain).

Finishing touches: Print chosen saying on Shrink Plastic. Punch holes at top & bottom center. Shrink according to directions with Shrink Plastic. (NOTE: Do not touch the ink while wet or it WILL smear!)
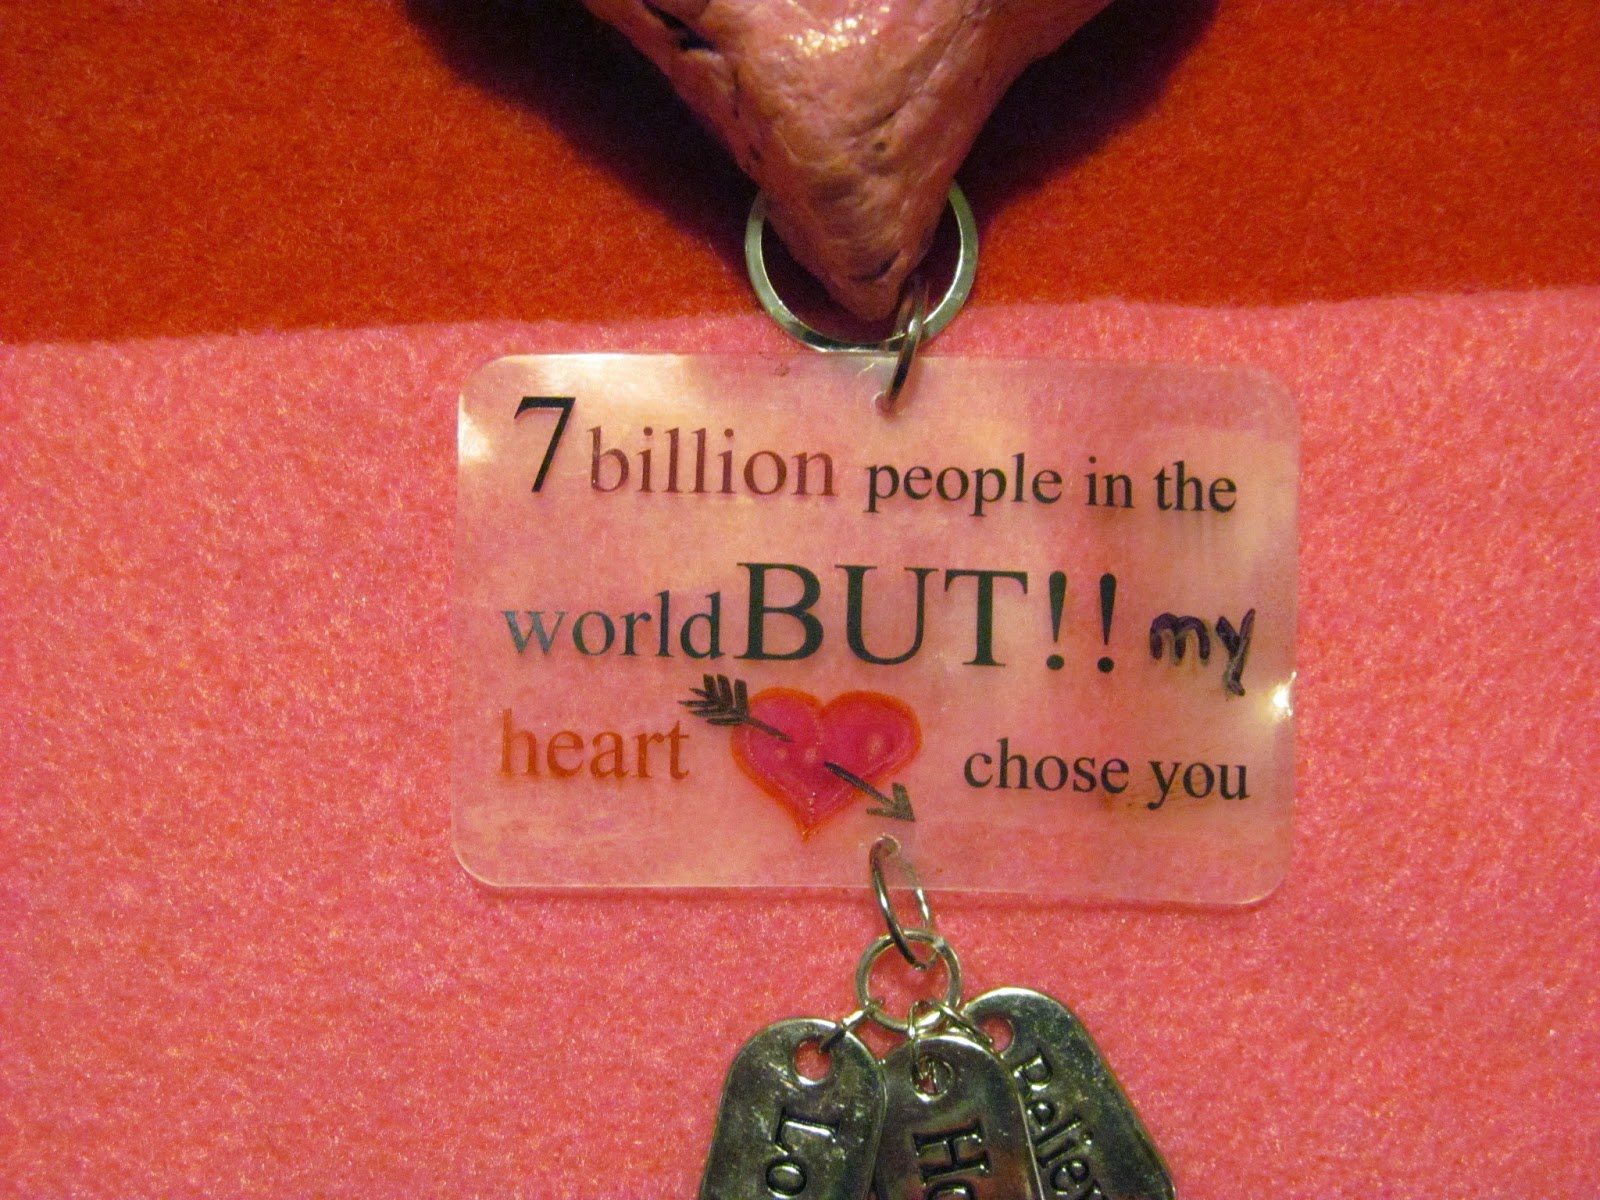
Attach "banner" to heart with jump rings. Dangle charms (Bead Landing) with another jump ring.


Great idea!!
ReplyDelete