Quick Fall/Thanksgiving envelope by Linda Hess
With the holiday season upon us, A Thanksgiving piece called to me. My brother is in Montana for the holidays and I want to send him a little treat. What better way to send it than in a handmade envelope using my Arnold Grummer Papermill Pro!
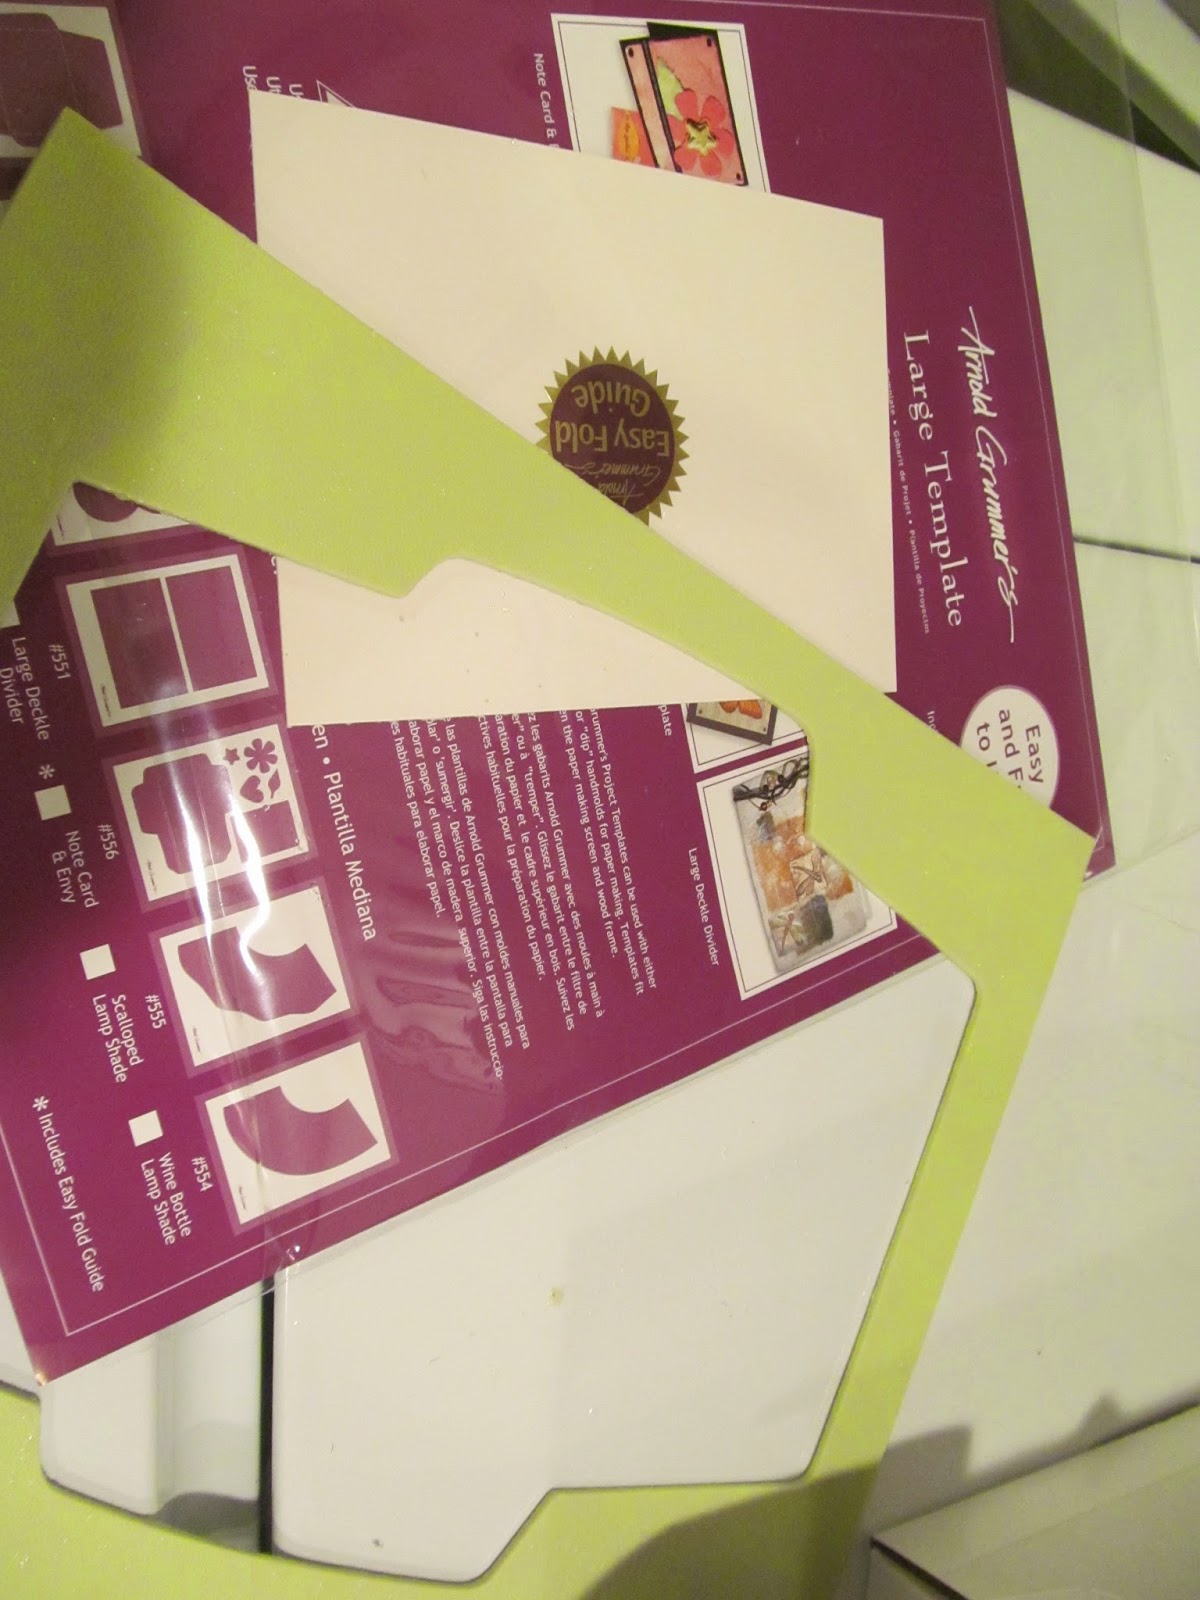
I pulled out the Large Envelope Template that I have been itching to try and added it to the normal paper set-up.
 I mixed shredded paper with wax paper to create the pulp. I wanted a bit of color, so I added a little bit of LuminArte' Pure Color in Key Lime. WRRRRRRRRRR...the color was gorgeous! Honestly it took me a couple of tries to get the pulp poured properly into the template, but once I did the envelope quickly came together. I began to press out the moisture, but left it quite damp so I could add a design to the face of it.
I found a thanksgiving napkin and thought the design would work well. Perfect size to stretch from one side to the other without noticeable lines showing. I tore along the edges of the design and then peeled the 2-ply napkin apart.
 Immediately the design was applied to the face of the envelope. I continued to press out moisture while sealing the napkin onto the handmade paper.
Using the enclosed folding guide I was able to easily fold the perfect envelope! The napkin made the front of the envelope lovely, while the folded bits on the back showcased the beautiful green handmade paper.


I pulled out the Large Envelope Template that I have been itching to try and added it to the normal paper set-up.
I found a thanksgiving napkin and thought the design would work well. Perfect size to stretch from one side to the other without noticeable lines showing. I tore along the edges of the design and then peeled the 2-ply napkin apart.
Using the enclosed folding guide I was able to easily fold the perfect envelope! The napkin made the front of the envelope lovely, while the folded bits on the back showcased the beautiful green handmade paper.
I know that my brother will be surprised. Knowing him he will preserve the envelope for its beauty. See you next time when I tackle Christmas projects :-)


I have that napkin, love it... great idea
ReplyDeleteLovely!
ReplyDelete