Artist Journal Upgrade by Linda Hess
I recently became the Art Teacher at a local Catholic school. I am responsible for grades K-8th, each coming once a week. My background in teaching is with the Elementary grades (K-5) so 6th-8th may be a little challenging. Thankfully the former art teacher left me a ton of fabulous ideas that I can use as a jumpstart.
One thing that she had for middle schoolers was to cover an art journal in some permanent way (paint, paper, fabric, etc) that reflected a little of their artistic style. Fabulous jump start to the year! I gave the assignment to them during the first class and answered any questions that they had..."Can I use Duck Tape?" "yes" "Can I wallpaper?" "yes" "Can I...???" You get the idea. I realized that I could not expect them to decorate a journal without doing one myself, so for the first time in my adult life I shall have an art journal of my own.
With that background, let's decorate a journal! I encouraged my middle schoolers to get a journal with a spiral on the top or side for durability (I am hoping they will continue to use this even after they leave me...or at least throughout this year without it falling apart!)
Materials:
spiral bound art journal
Americana Chalkboard paint
scrap handmade papers created with the Papermill Pro kit
The Ultimate glue
scissors
ribbon (I used Celebrate It from the $1 bin @ Michaels)
miscellaneous supplies: bling, words, pens, polymer clay, etc
Procedure:
1) Following chalkboard paint directions, paint the cover of your journal. I began this process with the cover still attached and quickly discovered that I could not paint inside the spirals without a lot of mess.
 Once the first coat was dry I removed the cover easily to complete the painting process without mess. Once layers were completely dry, I replaced the cover.


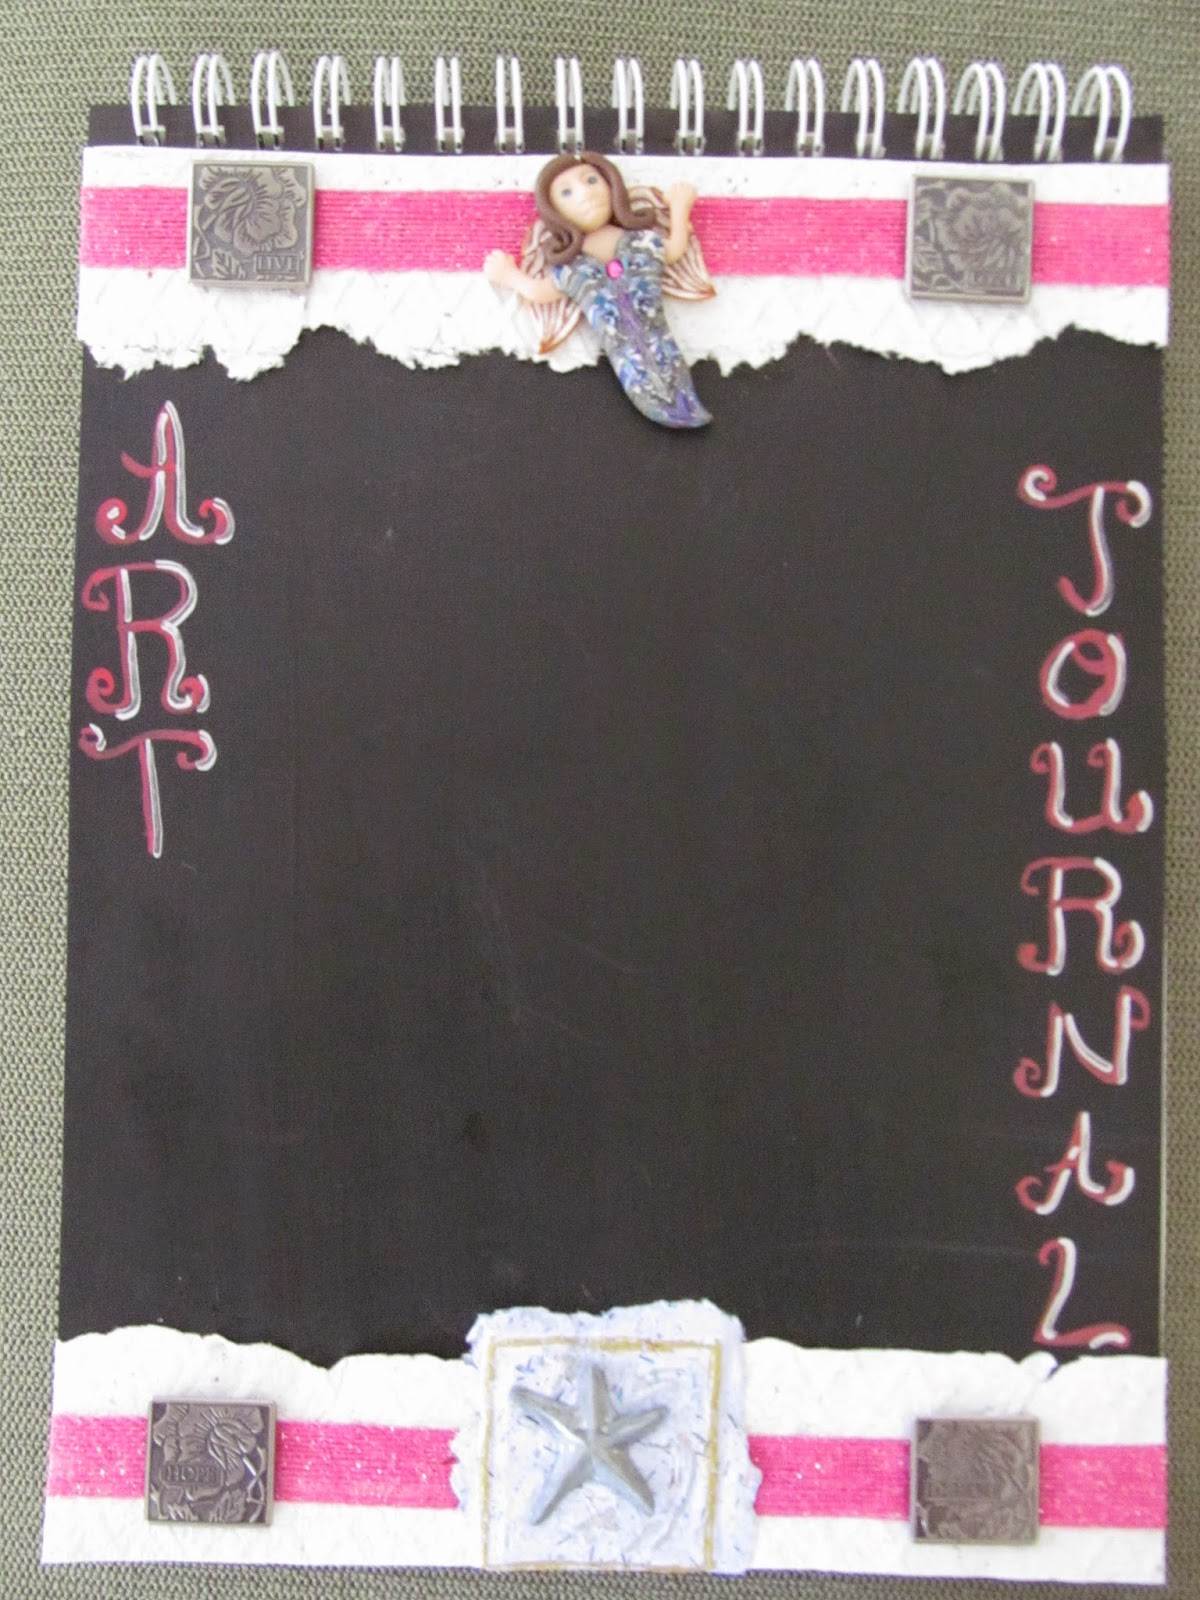
 Nice, but it needed a little more...so I wrote "Art Journal" down the sides with a Pentel Metallic Brush pen and highlighted with a silver Sharpie. Much better!!
One thing that she had for middle schoolers was to cover an art journal in some permanent way (paint, paper, fabric, etc) that reflected a little of their artistic style. Fabulous jump start to the year! I gave the assignment to them during the first class and answered any questions that they had..."Can I use Duck Tape?" "yes" "Can I wallpaper?" "yes" "Can I...???" You get the idea. I realized that I could not expect them to decorate a journal without doing one myself, so for the first time in my adult life I shall have an art journal of my own.
With that background, let's decorate a journal! I encouraged my middle schoolers to get a journal with a spiral on the top or side for durability (I am hoping they will continue to use this even after they leave me...or at least throughout this year without it falling apart!)
Materials:
spiral bound art journal
Americana Chalkboard paint
scrap handmade papers created with the Papermill Pro kit
The Ultimate glue
scissors
ribbon (I used Celebrate It from the $1 bin @ Michaels)
miscellaneous supplies: bling, words, pens, polymer clay, etc
Procedure:
1) Following chalkboard paint directions, paint the cover of your journal. I began this process with the cover still attached and quickly discovered that I could not paint inside the spirals without a lot of mess.
With the cover base complete I went to my stash of handmade papers and pulled out a couple of pieces. I wanted my handmade paper to have a subtle texture, so I pulled out a paper crimper and slowly rolled the paper strip through. PERFECT!
I decided to keep one rough edge for the top and the bottom. By cutting the paper strip in half I was able to produce a textured sheet for each edge (top & bottom) of my journal. I glued them in place. On top of each paper strip I glued a piece of the ribbon. (NOTE: do not worry about any overhang on the edges at this point. After drying long ends can be trimmed away easily).
The cover was looking a little plain for my taste, so I found some metal word stickers, a polymer clay angel, and a paper tag that I made for my last blog post (http://arnoldgrummerpapermaking.blogspot.com/2014/08/catch-falling-star-package-tags-by.html).
The center is now ready for any chalk doodles I might add and can be changed as desired. I have enjoyed sharing the beginning of my art teacher journey with you. Check back for updates as I introduce my classes to the world of paper making this year.


Comments
Post a Comment