Posts

Showing posts from September, 2014

Halloween Treat Box by Linda Hess

Image
Fall is upon us: the leaves outside are changing, the air is getting a bit cooler, sweaters have come out of hiding, and YES Halloween is only a month away!  With 2 children in college, I still send Halloween treats (yes, I am THAT kind of mom).  I am also the kind of mom spinning in my tracks, so to get treats out on time I need to think ahead :-) With that in mind, I looked through my cabinets for something that could easily be sent through the mail without destruction.  I found a metal Hershey box and decided that it would be perfect to recycle.  First thing was to create some Halloween orange paper using my Arnold Grummer's Papermill Pro kit.  I mixed a handful of shredded paper with a few squirts of Pinata Ink (Calabaza Orange #JFC1005) and some Creatology Orange glitter (can be found at Michaels's stores) plus 2 cups of water...WHIRRRRRRRR.  Following the directions I poured the mixture into the frame and pressed out most of the water.  I w...

Tag…You’re It!

Image
©Michele Emerson-Roberts 2014 I love creating small gift items for special friends and family to include with a handmade paper card. These tag necklaces can be made ahead of time and stashed away for later gift giving.  Since I make dozens of sheets of paper at a time and always have scraps, I will often use leftover handmade papers and simply draw around the template and cut the tag shape with scissors. Great way to use up leftover papers and beads too! Supplies: Any of the Arnold Grummer™ paper making kits A sunny window Blender, cello sponges and soft towels Arnold Grummer tag template #360 Personal paper cutter, scissors Scraps of white or ivory paper, scraps of colored paper (think junk mail, etc.) ColorBox ™ Ink pads in various dark colors to match the hand made tags Decretive stamps (patterns for the covers… words would be great for the inside pages) Clear embossing powder Heat tool Standard size round hole punch Four f...

Fall Gift Giving

Image
We often think of fall by the colorful leaves, pumpkins and cooler temperatures, but what about things of fall like weddings or get togethers where a gift is needed ?  We often find ourselves in a busier schedule this time of year and when we are invited to a special event we don't think about a gift or a box to put it in.  This fall box is the perfect addition to that special gift for those occasion.  This box was created using all handmade paper and dyed lace.  One of the Papermill Kits was used to create 5 sheets of paper.  The paper for leaves were scraps of cardstock that were left from crafting that were placed in a blender and turned into new sheets of paper.  Once they were dry, a fall leaf punch was used to create the leaves.  Scraps of white cardstock were used to create the sheets for the box, but instead of using 2 cups of plain water according to the instructions included in the kit 1/2 cups of warm tea and 1 1/2 cups of wat...

Birthday Greetings

Image
Michele Emerson-Roberts 2014 Recently a friend gave me a bag of old greeting cards that she had been saving. The cards represented many holidays and celebrations themes. I separated the cards by category and filed them away for future use. I had just finished several sheets of handmade petal paper and remembered that I needed a birthday card for the very friend who had given me the bag of cards. I checked the stash of cards from her and found the perfect one to die cut and use for her BD card! Wonder if she will notice? Smile. Supplies: Any of the Arnold Grummer™ paper making kits A sunny window Blender, cello sponges and soft towels Personal paper cutter, scissors Scor-Pal™ Beacon ZipDry™ Adhesive, and foam tape or foam dots Scraps of white paper, scraps of turquoise paper (think junk mail, etc.) Small dried flower petals An envelope (or make matching envelopes with the AG envelope template) An already used store bought card to di...

Leaf Embedded Background Paper

Image
Playing around once again with paper pulp to create an interesting paper that can be used as a background for a photo or special verse. A pile of leftover white card stock scraps from another project, were used to make the pulp for the paper.  Because the scraps were from a heavier paper, I used  fringe scissors  that cut  paper into thin shreds then soaked them in water before placing them into a blender to make pulp.  The pulp, along with some water, was then placed into a squeeze bottle.  NOTE:  The blended pulp, along with water, can be poured into a bowl and a baster can be used to squeeze the pulp onto the screen.   To form the sheet of paper, use the  large dip handmold  and place it on a large cookie sheet with a lip.  Squeeze the paper pulp onto the screen - keep layering the pulp onto the screen, covering the entire surface.    NOTE:  I didn't worry too much about it being a bit thicker in pla...

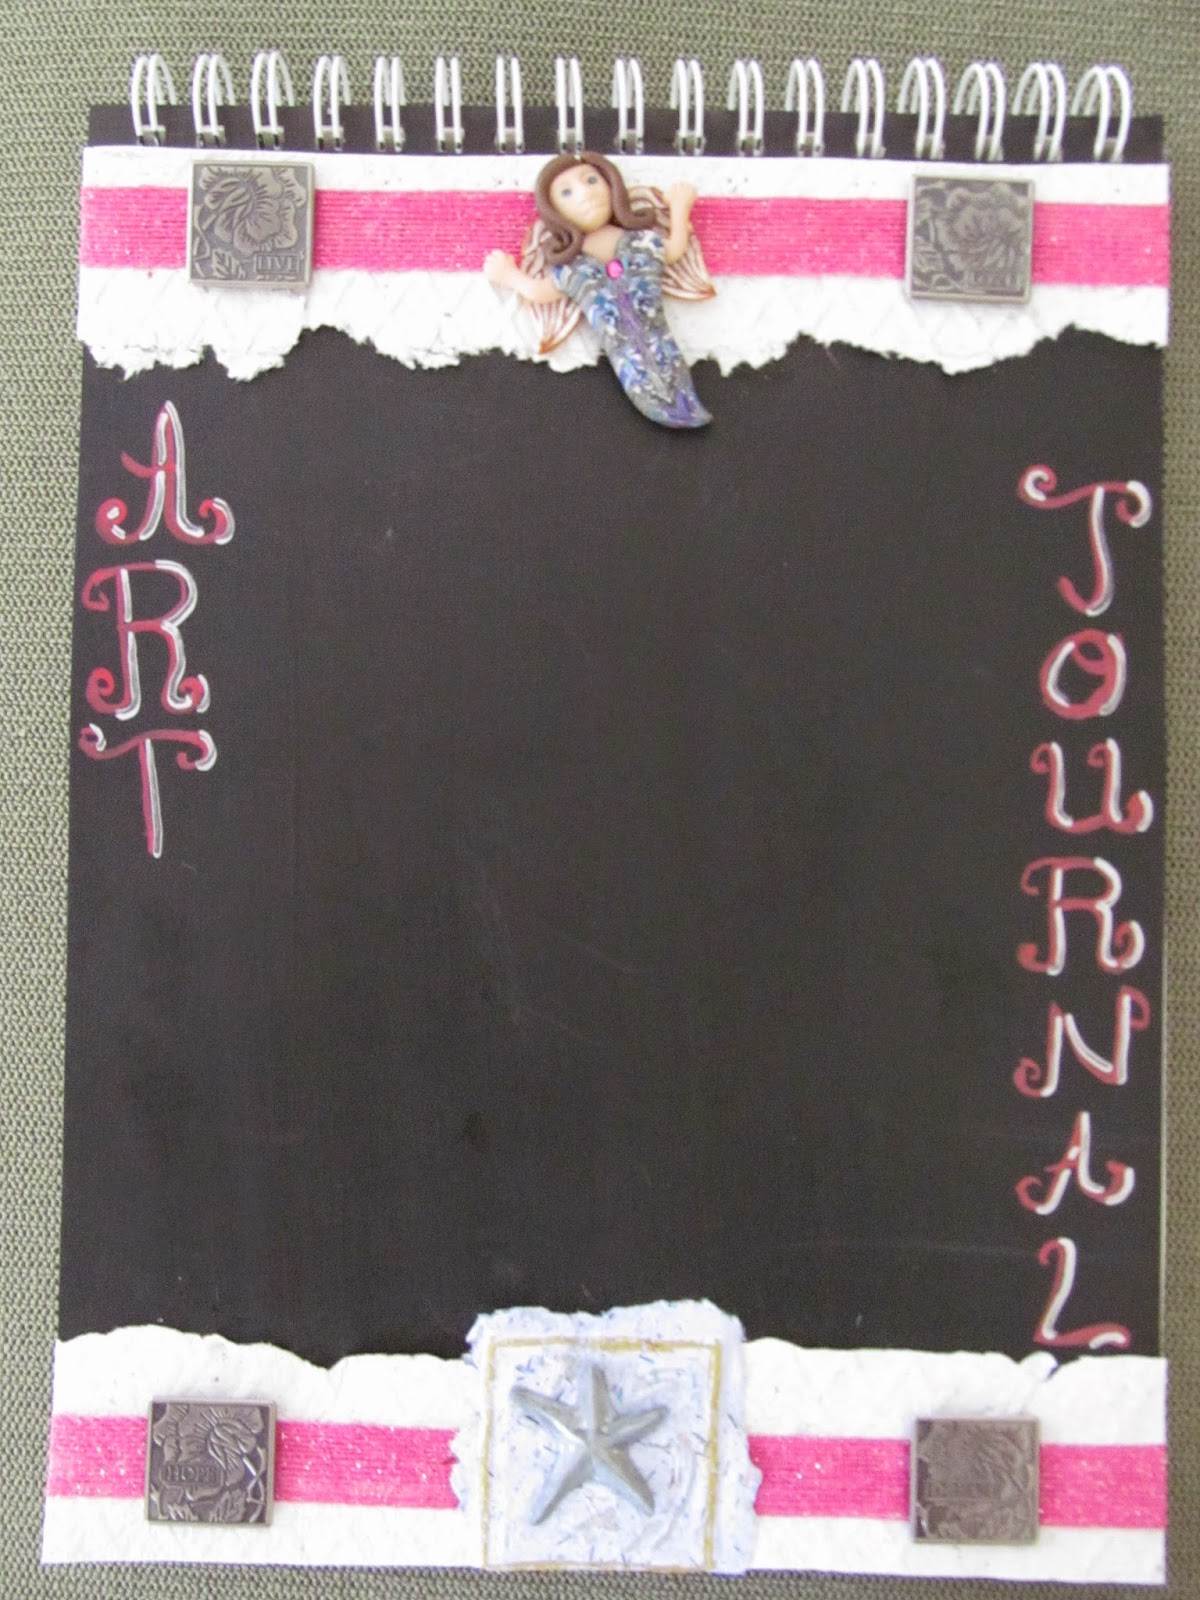
Artist Journal Upgrade by Linda Hess

Image
I recently became the Art Teacher at a local Catholic school.  I am responsible for grades K-8th, each coming once a week.  My background in teaching is with the Elementary grades (K-5) so 6th-8th may be a little challenging.  Thankfully the former art teacher left me a ton of fabulous ideas that I can use as a jumpstart. One thing that she had for middle schoolers was to cover an art journal in some permanent way (paint, paper, fabric, etc) that reflected a little of their artistic style.  Fabulous jump start to the year!  I gave the assignment to them during the first class and answered any questions that they had..."Can I use Duck Tape?"  "yes"  "Can I wallpaper?"  "yes"  "Can I...???" You get the idea.  I realized that I could not expect them to decorate a journal without doing one myself, so for the first time in my adult life I shall have an art journal of my own.  With that background, let's decorate a journal...

Gone Fishin’ Card

Image
©Michele Emerson-Roberts   2014 I have such wonderful childhood memories of lazy afternoons just sitting and fishing with my dad. Looking back it didn’t seem to matter that I never caught anything, or would not bait my own hook. What a delight it is to take junk mail and scrapes of paper and use them to create something that not only is useful but also helps keep stuff out of the land fill! This card will be a big hit with the all the males in your life, so you might want to make several to have on hand. Supplies: Any of the Arnold Grummer™ paper making kits AG #552 Large Template: Envelope A2 AG #551 Large Template:  Deckle Divider Scraps of white and olive green paper (think junk mail, etc.) Dried evergreen needles AG #163 Opal Sprinkles Tiny amount of Opal shred Mold: Fish soap mold 8mm clear crystal bead A sunny window Blender, small strainer, cello sponges and soft towels, scissors, bone folder ColorBox ™ Olive Green Chalk...

Time for Fall the Mixed Media Way

Image
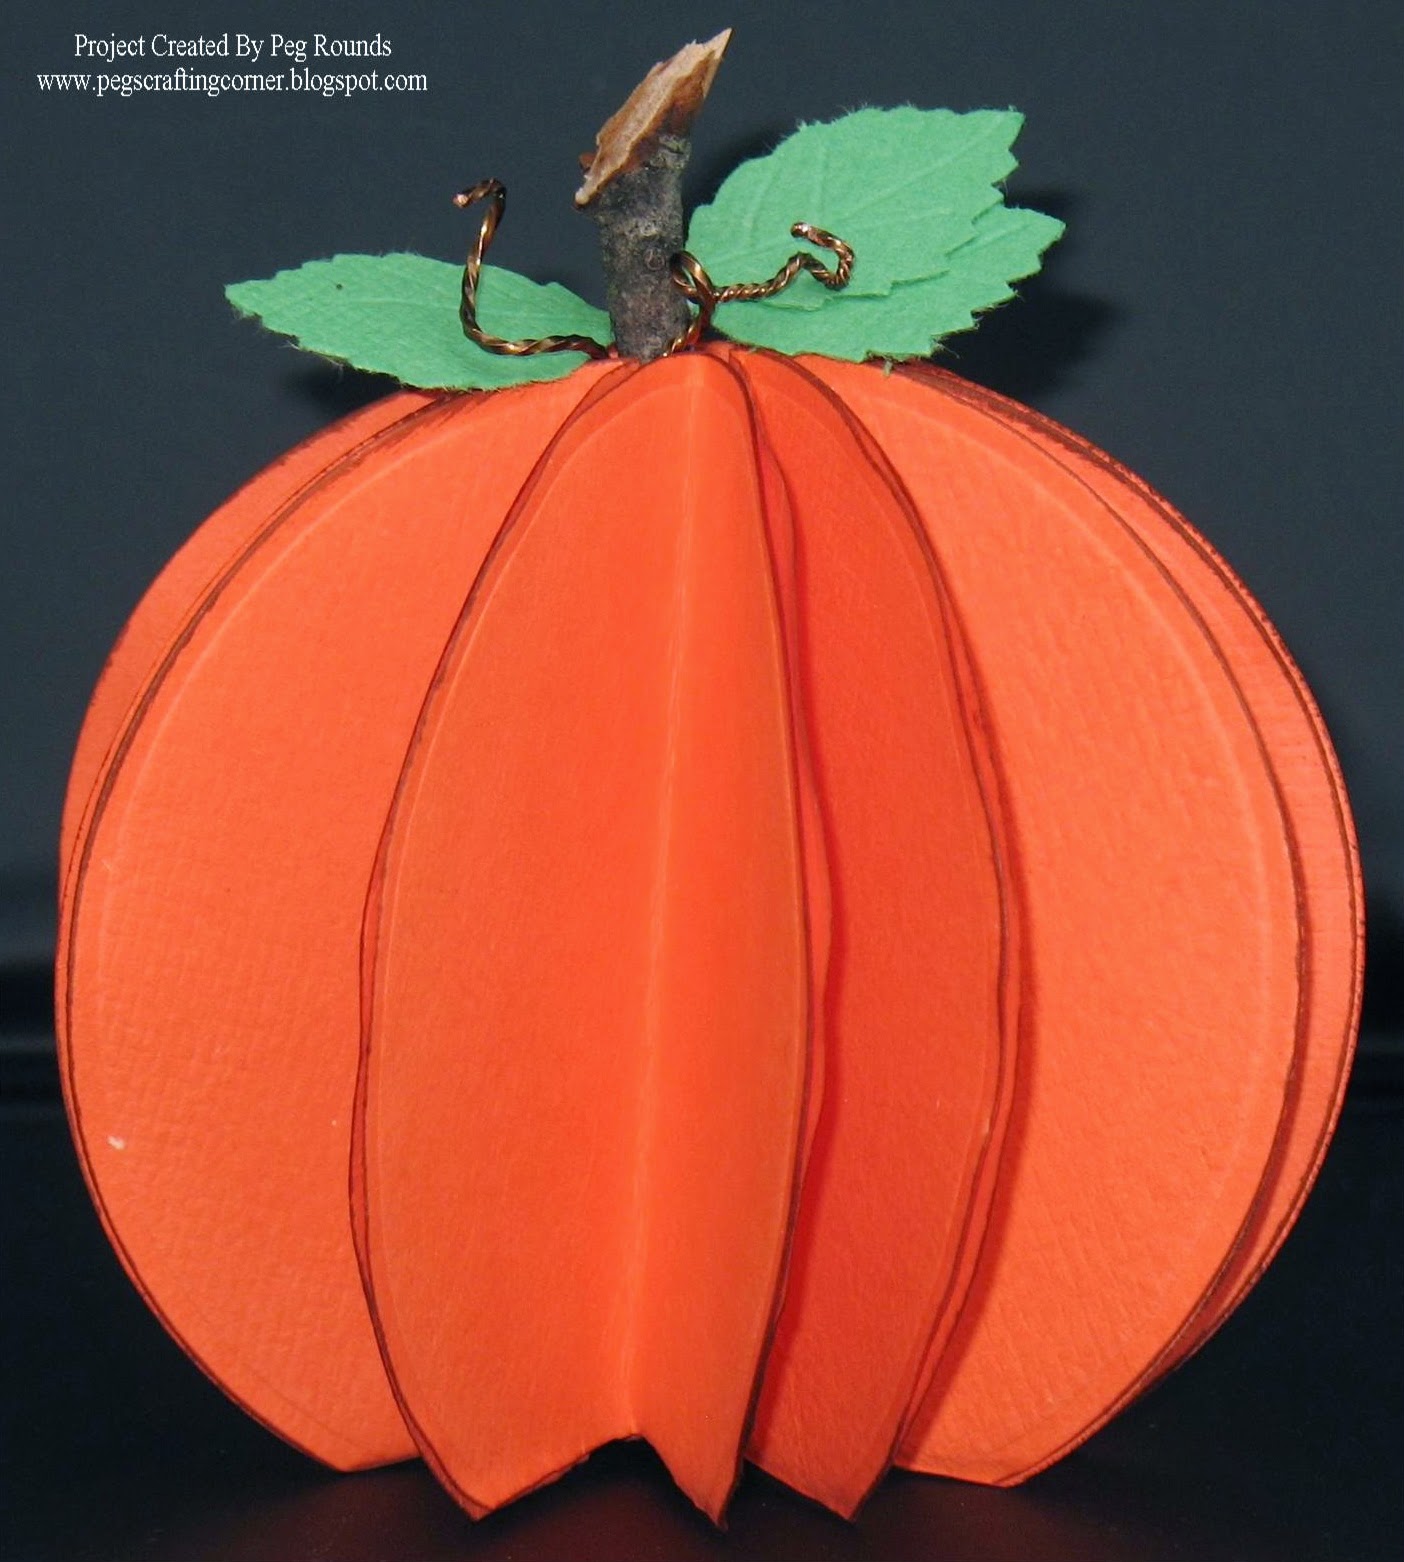
It's hard to believe this year is more than half over and fall is not that far away.  I am happy it is, though, as it is my favorite season with winter a close second.  I'm always excited to start creating and decorating for the fall and one of my favorite things to create are pumpkins.    This year, I took my pumpkin making a step further and turned it into this mixed media project.  What better mixed media is there than handmade paper, wire and things from nature?  These little pumpkins are easy to make and are perfect for decorating.    Start by making several orange sheets of paper and one or two (it's always nice to have extras on hand) green sheets using one of the Papermill Kits and the basic instructions.  You will need enough orange paper to cut 12- 3" or 4" circles.  Once the paper has dried and you've cut the circles ink the edges and fold each one in half and start attaching them together using a tape ru...

WHO! WHO!

Image
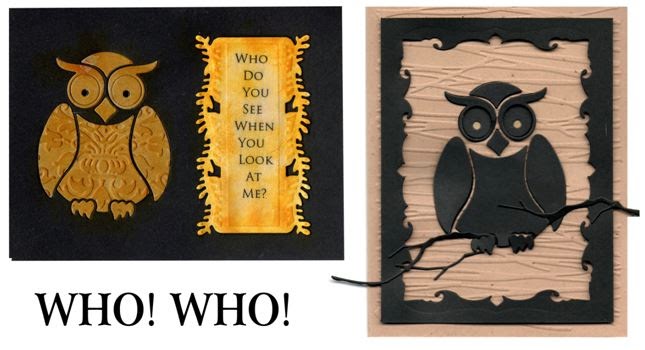
©Michele Emerson-Roberts 2014 I don’t usually do “cute” but fell in love with this owl from Dream Weaver and knew it would make a great “guy” card. I am also an avid “saying” collector and have pages and pages of saying that resonated with me… someday they will get sorted and put in a book, but that’s a project for another day - smile. Supplies: Any of the Arnold Grummer™ paper making kits A sunny window Blender, cello sponges and soft towels Personal paper cutter, scissors Scor-Pal™ Beacon ZipDry™ Adhesive, and foam tape or foam dots, double sided tape Scraps of tan paper and black paper (think brown paper bag, junk mail, etc.) Two envelopes (or make matching envelopes with the AG envelope template) Black frame shape left over from another project Embossing folder or vegetable net bag or other texture plate Dies: Spellbinders ’ “Branching Out” S6-006, Memory Box “Woodland Branch #98187 and Dream Weaver “Nested Owls...

Tag with Handmade Paper Heart

Image
I love making special tags, and what could be more special than a tag enhanced with handmade papers. I made three different papers using basic papermaking techniques . Each used a pink color palette, but with different inclusions. For the crown I added iridescent flakes to the paper pulp. For the heart, I added silver sprinkles and Angel Wings dried botanicals. I added bird seed to the pulp for the wings. Each paper was unique and complimented the other papers. The heart pieces were cut using the Sizzix Heart Wings die. I started with a wooden tag from the Antique Tags collection from Beyond the Page which I painted gold with an acrylic paint. While the paint dried, I assembled the heart and embellished the crown with Dew Drops . Close up of winged heart made from handmade papers I attached the assembled heart and more Dew Drops to the wooden tag using a quick drying white glue. The addition of ribbons, lettering, and tulle completed the tag. Finished tag made with ...