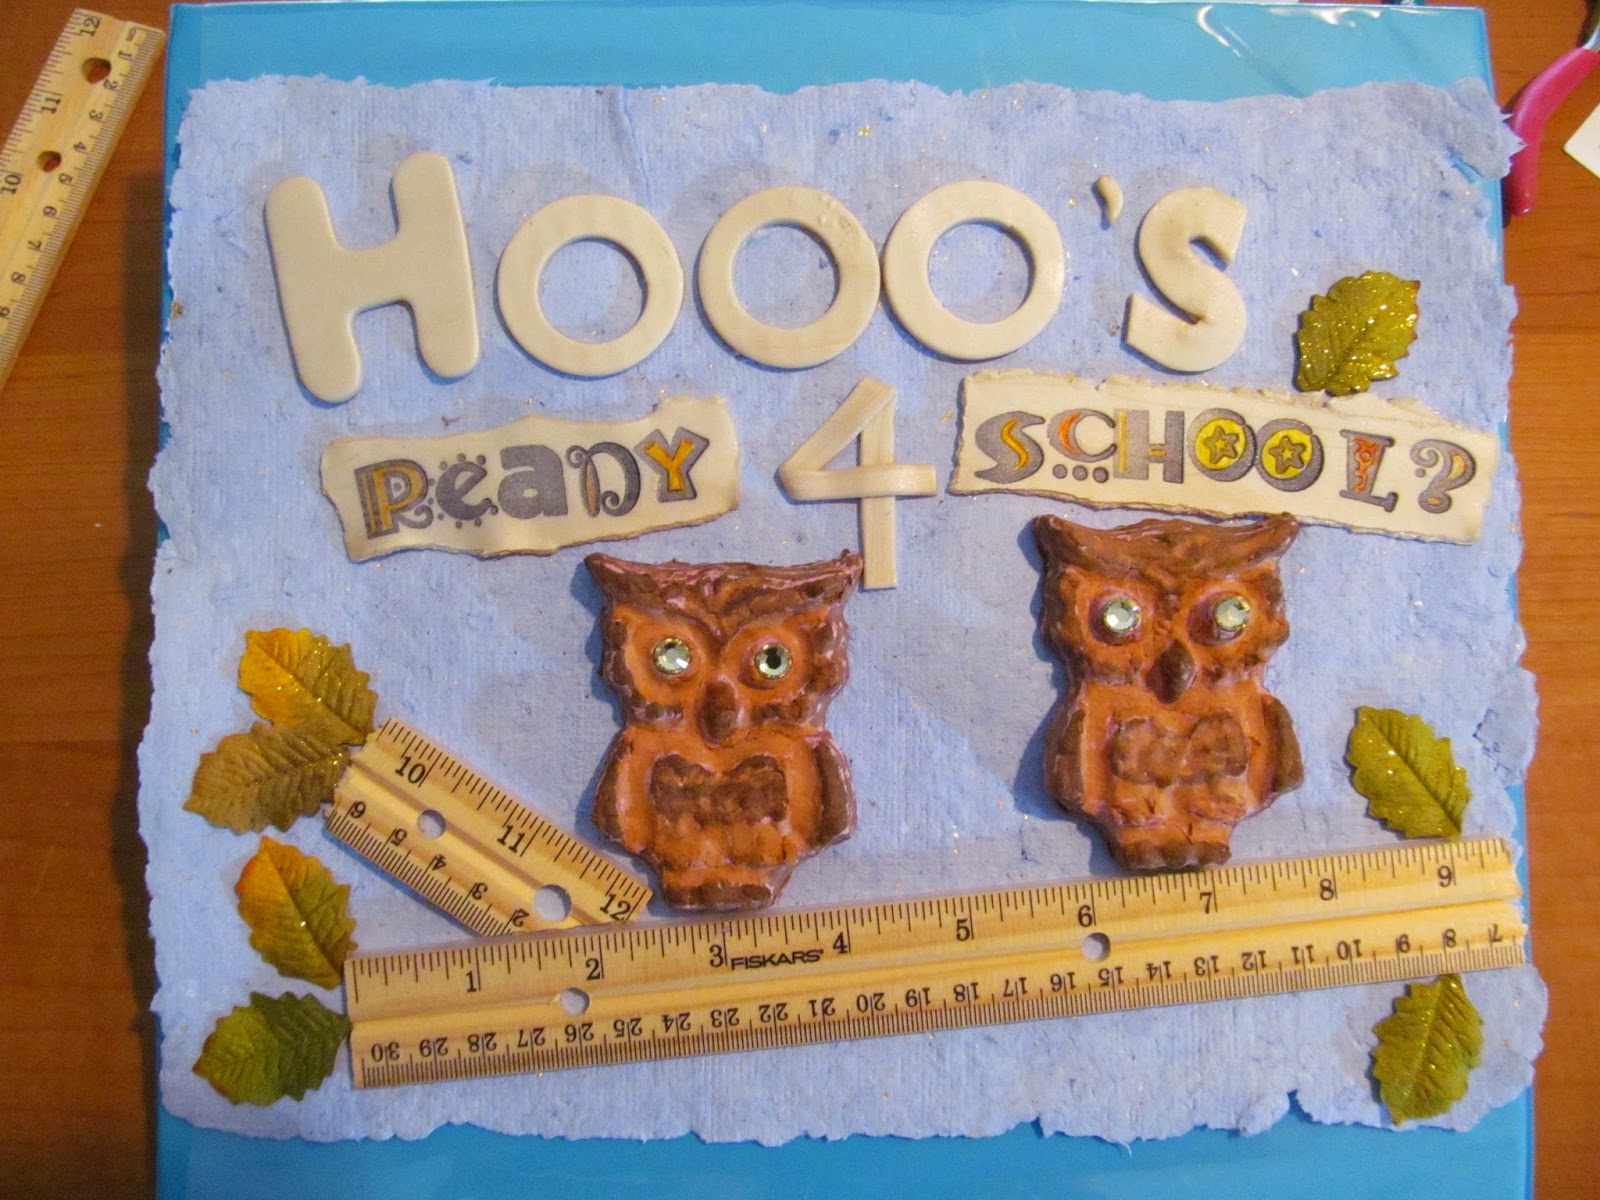
HOOO's Ready 4 School?? by Linda Hess
With Back-To-School firmly implanted, I started on design jump started by a journey to the craft store. I wandered onto the soap making/resin aisle (don't ask me how I got there) and I found the BEST mold, an owl! I had to have it as an idea had already jumped into my head and as we all know, once the idea is there it has to get out. The only way to accomplish that is by running to the studio and creating. Off to the studio....
Up first, the background. I could see a blue sky, possibly a little twinkling of stars (after all when are the owls active??). Using my Arnold Grummer's Papermill Pro I went to work. Into the blender I mix a couple of handfuls of shredded paper, about 3 cups of water, a heavy sprinkle of Arnold Grummer's #150 Gold Dust, and a couple of squirts of Pinata Sapphire Blue alcohol ink. WHIRRRRRRRRR. Follow the directions with the Papermill Pro to complete the first sheet of paper. I used an iron to quick dry my background. (NOTE: the dark blue color that shows when the pulp is wet will lighten considerably when dry. If you wish to have a dark blue sky then more ink may need to be added before blending)


On to the next component, the words. If you know my work, you know that no project is complete without a bit of polymer clay. I conditioned a bit of Premo!Sculpey Pearl #5101 (www.sculpey.com) and flattened it in the pasta machine. I want the word "HOOO" to stand out from the other words so I used an alphabet cutter for the "H" and a couple of sizes of circle cutters for the "O"s.

The color of my owls was not quite what I expected, so out come the Prismacolor markers. A little here, a little there and the owls are much better.

The eyes are simply heat set crystals that I placed before "baking".
Final touches: Cut a wooden ruler to fit (Walmart .25!!). Glue in place with Crafter's Pick The Ultimate glue. Position owls and lettering. Glue in place. I found fall leaves in the scrapbook section of Michaels and had to add a few.
This can be glued to the front of a notebook (imagine a spiral notebook hanging on the wall!), glued to a canvas for a 1st Day of School teacher gift, or placed into a shadow box along with school pictures. I hope you have enjoyed this project.


What a fun project!
ReplyDeleteLove and light,
Michele