Mini Mixed Media Shadowbox by Linda Hess
Hello again! Have you ever needed a crafting "fix" but had no time?? OR wondered what to do with small scraps of handmade paper leftover from projects. Well read on, as this will give you an answer to both crafting issues :-)
I found an adorable little shadow box frame at Michaels and had to pick it up (wish I had been able to get more!). I am sure such a small area (4"x4") was created to showcase a small watch or mini work of art. It created the perfect challenge for my paper & polymer crafting!
Materials:
scraps of handmade paper created with the Arnold Grummer's Papermill Pro
Mini Textures Casting Mold (http://arnoldgrummer.com/mini-textures.html)
Premo!Sculpey polymer clays in colors of choice (www.sculpey.com)
4"x4" Studio Décor Shadowbox (Michaels Stores)
The Ultimate Glue (www.crafterspick.com)
optional: Pearl Ex powder, mini eyelets, heat set crystals, sticky back pearls
Procedure:
1) Remove back of shadowbox. Trace onto scrap of paper. Cut out and set aside.
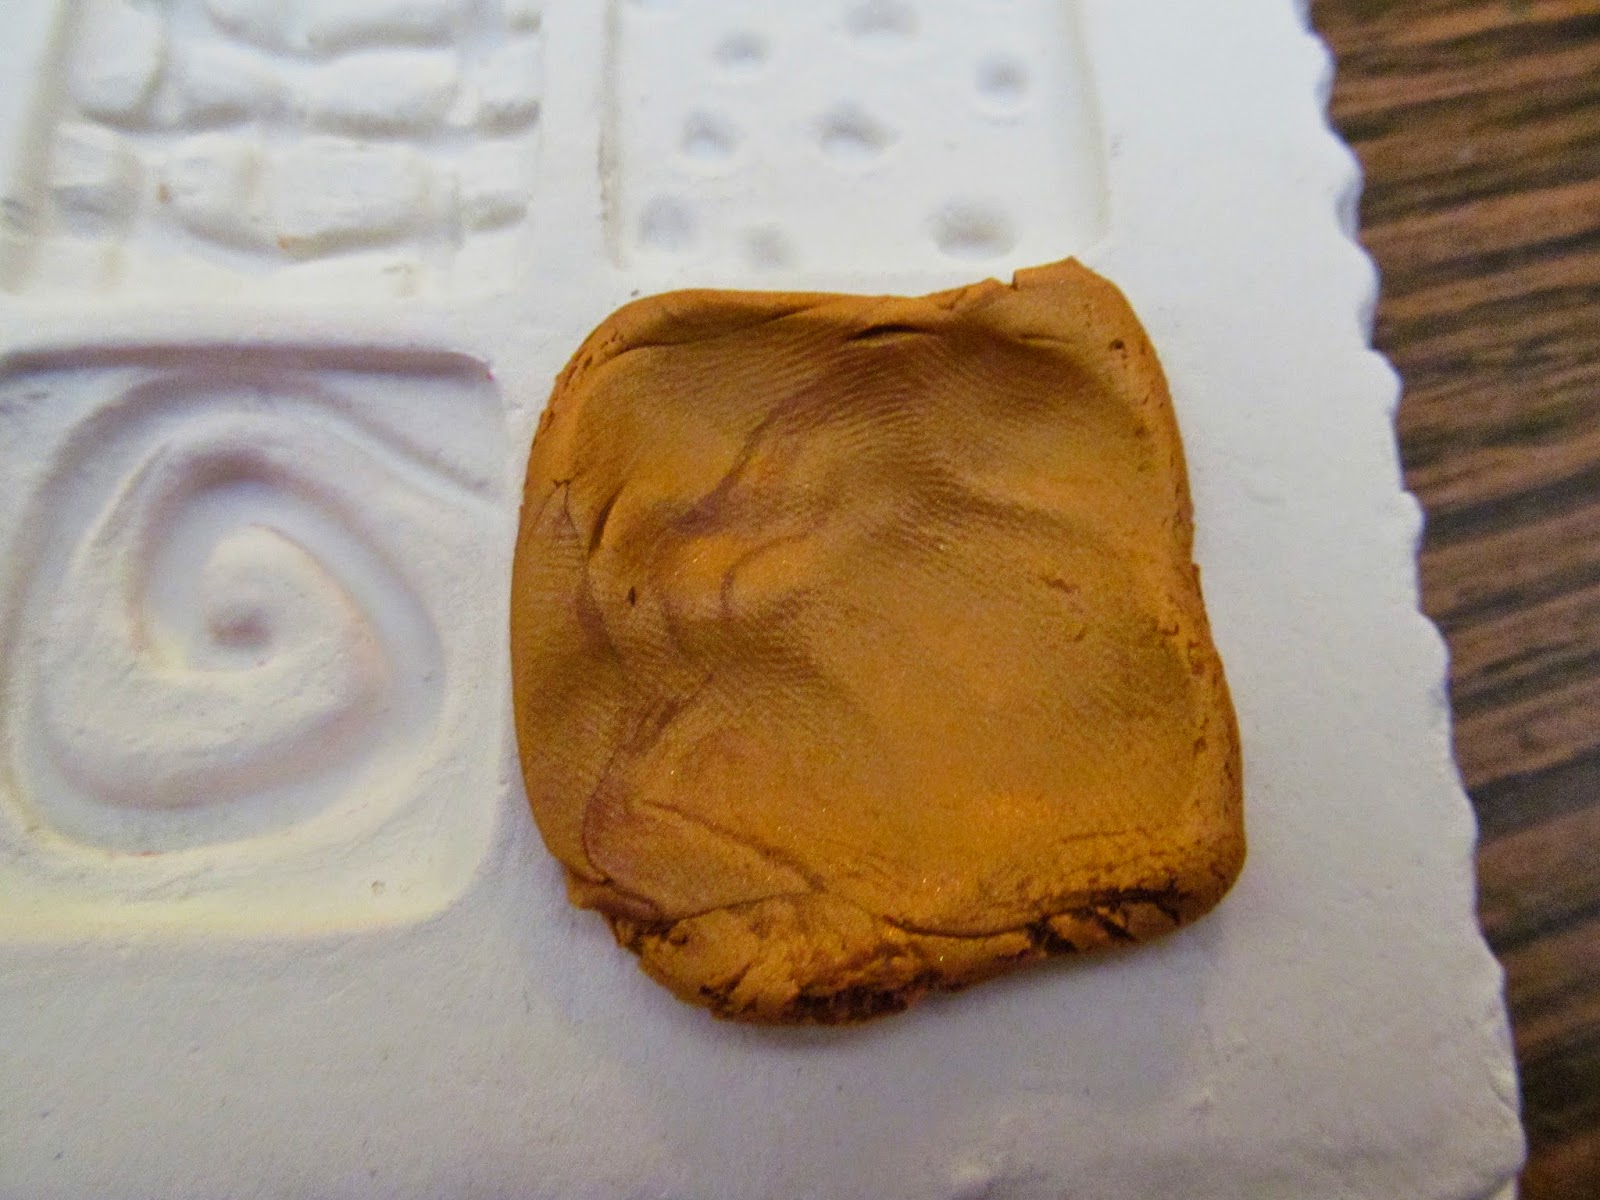
2) Condition small amounts (~1/8 block for each color) Premo!Sculpey clays. Starting with one color, press into texture mold as shown.
Remove and trim excess clay away.
Repeat with other colors and textures.
3) Detail textures with your choice of Pearl Ex powders, heat set crystals, eyelets, or a bit of each
Once details are complete, bake polymer clay pieces at 275 degrees for 15-20 minutes. Let cool before proceeding.
4) Retrieve the cut paper. Use The Ultimate glue (my absolute favorite for everything!) to glue texture tiles to the paper. Let dry. Hmmm, needs one more detail. Sticky back pearls are perfect! Press firmly into place.
Insert "art piece" into shadowbox frame and replace backing. That is all there is to it!
Paper made with the Papermill Pro (www.arnoldgrummer.com) may become the favorite background for many projects. Here is another piece of "scrap" that perfectly showcases a polymer clay pin!


Your step-out shots are so clear, I think even I could make a clay cast altho I've never tried it before. The handmade paper is so showy in step 4, I can see why it's a perfect backdrop for your creations. All things considered, a wonderful project! Thanks, Linda
ReplyDeletethank you! You would love creating with clay...be more than happy to walk you through it :-) Would also work with paperclay or any air dry clay. Now if I could only find more of these 4"x4" shadow boxes!!
DeleteGreat project, Linda! Perfect example of how versatile the mold are!
ReplyDeleteKim and Linda......we need to get together and play!
Love and light,
Michele