Posts

Showing posts from 2014

Meet our Design Team

Image
Meet our Wonderful Design Team The Arnold Grummer's Design Team will be posting 12 projects with full directions each month in hopes to inspire you  Check out our website too ArnoldGrummer.com  Terri Sproul - Team leader blog:   http://www.terrisproul.blogspot.com youtube channel:   http://www.youtube.com/terrisproul  Carole Lassak blog:   http://www.createncraft.com/author/classak/ Sandee Setliff  her blog:  In the Hills of North Carolina Madeline Arendt blog:  http://www.madelinesthoughts.blogspot.com/ Peg Rounds Blog:   http://www.pegscraftingcorner.blogspot.com/ Tamiko McCurry  blog : http://mikosspot.blogspot.com/  Ann Strecko Koeman Blog:  http://annmakes.blogspot.com/ Linda Hess Blog:  http://polymercreations4u.wordpress.com/ Michele Emerson Roberts blog:   http://micheleemersonroberts.blogspot.com/

Snow People

Image
©Michele Emerson-Roberts  2014 Heading “home” for the Christmas holiday? I will make an early trip to visit with family and deliver their presents. With my folks, two sister, their kids and 6 great nieces and nephews….it’s a lot of gifts to make and take! This year for the young ones I decided to create “Snow People” ornaments that they can hang on their Christmas trees each year. I started this tradition as each was welcomed into this world. By the time they set up their own homes they will have a fun collection of ornaments to take with them. Supplies: Any of the Arnold Grummer paper making kits Microwave, heat gun or a sunny window Blender, small strainer, cello sponges Iron and pressing cloth Westcott™ personal paper cutter and scissors Beacon QuickGrip™ Adhesive Scraps of white paper or cardstock (think junk mail, etc.) Dies: Sizzix™ Tim Holtz Snowman and Impression Obsession™ Christmas tags Christmas themed embossing folders  Cotton Christmas

Happy Holidays Everyone!

Image
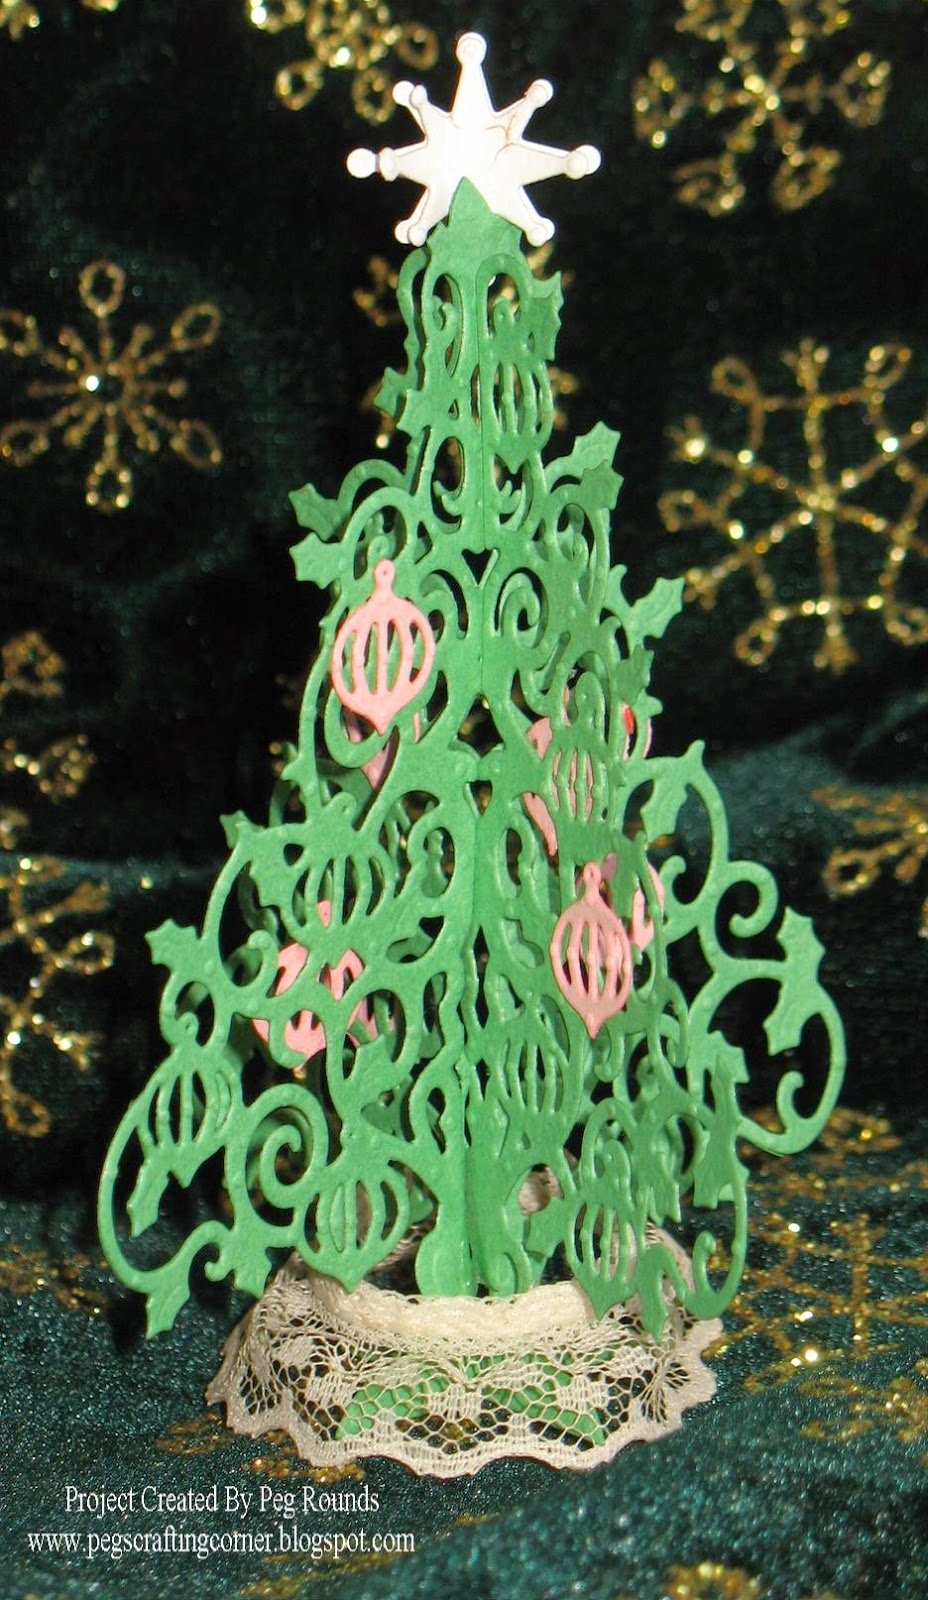
The holidays are here and it is time for me to share one final project for this year with you.  I, also, want to send out holiday wishes to all of you and created this tree for you to enjoy.  The handmade paper is what makes this tree even more beautiful with its fine details.   Begin by placing the deckle from the Papermill Pro Kit into a tub filled about half way with water.   In a blender add torn pieces of cardstock or old mail and 2 cups of water.  Blend this until it is turned into a pulp.   Pour the pulp into the deckle making sure that the entire area is covered and then left it out of the water and allow it to drain some.   Place the screen support grid and the newly formed sheet of paper into a shallow pan and place the screen over the top.  Use the sponge to remove as much of the water as possible.  Transfer the sheet between two of the couch sheets and use the press bar to finish removing as much water as possible.  Allow the paper to dry or use an

Christmas Stickers

Image
©Michele Emerson-Roberts  2014 You probably get lots of mail this time of year asking for donations for this or that cause. I sure get my fair share and have to pick and choose who to support. Often the requests come with “free” cards (you already know what I do with some of those) or stickers that I don’t always want to just toss. These 4 cards are another example of what can be done with some of the “stuff” that others think of as junk or trash, in this case Christmas stickers. Supplies: Any of the Arnold Grummer™  paper making kits Microwave, heat gun or a sunny window Blender, small strainer, cello sponges Iron and pressing cloth Westcott™ personal paper cutter, scissors Scor-Pal ™ Spellbinders ™ Grand Calibur    Grand Calibur Beacon ZipDry™ Adhesive, double sided foam tape or dots Scraps of white and red paper or cardstock (think junk mail, etc.) Remember: ALWAYS save the scraps.

Easy Paper Snowflake Photo Background

Image
The hustle and bustle of the holiday season is here.  There is still so much to do before Christmas Day.  My last post for this year had to be fairly easy and quick. Using ordinary white copy paper and adding some  Arnold Grummer Iridescent Flakes  to the mix, I made two simple sheets of paper flecked with sparkle. Follow the basic paper making process that can be viewed at this  video link . A different style acrylic frame with a different style of die-cut snowflakes Once the paper sheets were completed I used my "go to" tools - Sizzix Big Shot and dies. The simple snowflake die-cuts were then used to add a unique embellishment to a black & white photo in an acrylic frame. Now shop at the  Arnold Grummer website  for a last minute Christmas gift for that creative someone in your life or yourself. Use the coupon code: MERRY CHRISTMAS & HAPPY NEW YEAR TO EVERYONE!!!!

Quick and Easy Christmas Cards by Linda Hess

Image
I can hardly believe how quickly the holiday season has come upon us this year.  Perhaps it is because I am working as an art teacher this year...or that I work PT in framing at Michaels.  Either way the holidays seems to have come up much faster than normal.  With that in mind, Christmas cards need to be made and made quickly! I pulled out my trusty tri-fold cards ( http://arnoldgrummer.com/products/cardmaking/trifold-window-cards.html ), a terra cotta Nativity mold ( http://arnoldgrummer.com/nativity.html )  and my Delight AirDry Clay ( http://www.paperclay.com/product.htm ).  I conditioned a bit of the Delight clay by squeezing it in my hands.  I then flattened it into a thin sheet (this can be done by hand or with a roller or with a pasta machine).  The clay sheet was pressed into the Nativity mold (be sure to press clay firmly into the recessed areas).  I pulled it out and placed it on my work surface, smoothing the edges flat.  Center the image in a tri-fold card openin

Repurposed Christmas Cards

Image
©Michele Emerson-Roberts  2014 December is one of my favorite months of the year. There is a feeling of peace and love starting with the Thanksgiving celebration that sets the mood for the month of December, and the anticipation of the new year. In keeping with my philosophy of re-purposing items that most people toss, here are just a few of the more than 100 Christmas cards that I will be mailing out soon. Supplies: Any of the Arnold Grummer™ paper making kits Microwave, heat gun or a sunny window Blender, small strainer, cello sponges Iron and pressing cloth Westcott™ personal paper cutter, scissors Scor-Pal™ Beacon Quick Grip™ Adhesive, double sided foam tape or dots Scraps of white, olive green, red, dark red, tan and Christmas green paper or cardstock (think junk mail, etc.--except for the white I am using scraps left from other projects – and remember to always save the scraps) Envelopes for a 4 ¼ x 5 ½” cards (or use the AG

Don't Forget the Cookies

Image
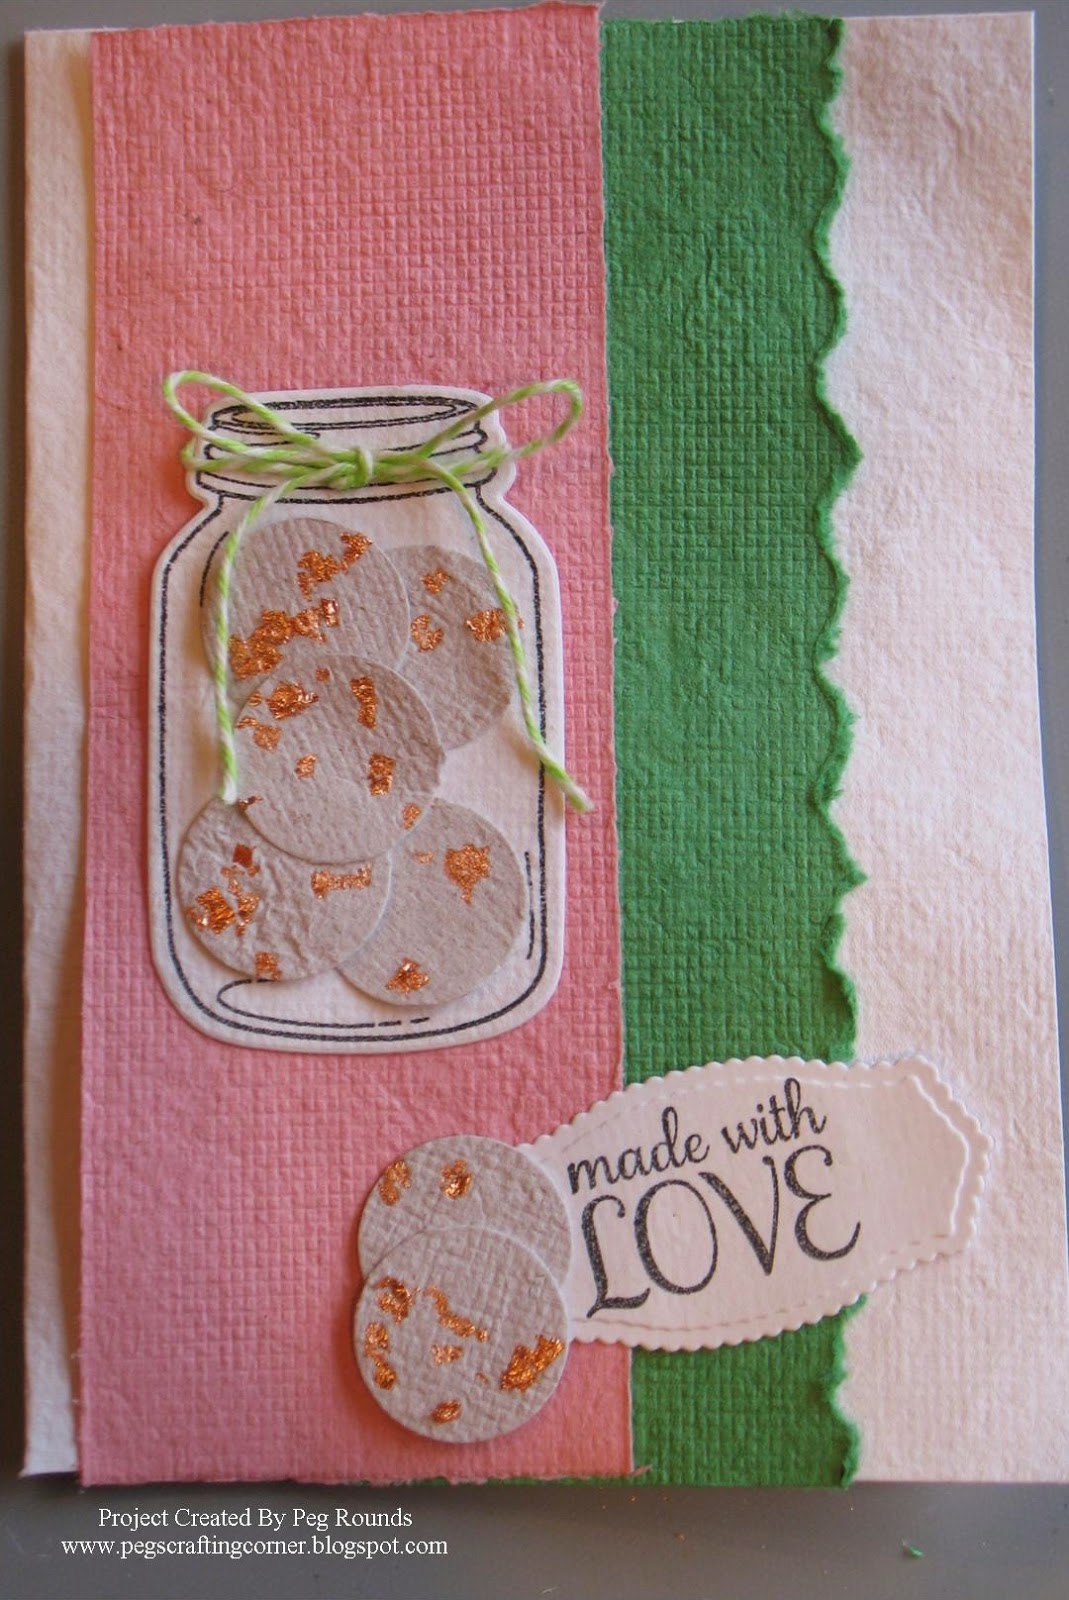
As Santa is checking his lists, we need to be making sure our lists are complete, too.  Don't forget that very special treat for Santa...his favorite cookies!  Share the reminder with someone this holiday season with this cute made with love card.  It will bring a smile to anyone's season.  Share it with your own gift of your favorite cookies even.     This card was created by making 5 sheets of handmade paper using the Papermill Pro Envelope and Stationary Kit  and the basic papermaking instructions. There are 2 sheets of white paper, one green sheet, one red sheet and one brown sheet needed.  The brown sheet is for the cookies and to make them look decorated for the holidays some of the  Copper Dust was sprinkled into the paper pulp right before the deckle was removed from the water.  All of sheets were allowed to dry completely.    A paper tearing ruler was used on the green sheet to take away the boxed look of the card that was created with all of the strai

Christmas Tea Light

Image
©Michele Emerson-Roberts 2014 It is never too early to start on Christmas gifts or decorations. I love the battery operated tea lights and use them several places in my home for ambiance. We have a lovely log home in the Arizona White Mts. And I wanted to add some rustic touches to the Christmas decorations. I think you will agree that this project fits that perfectly.   Supplies: Any of the Arnold Grummer™ paper making kits A sunny window Blender, cello sponges and soft towels Westcott™ Personal paper cutter and scissors Beacon QuickGrip™ Adhesive Scraps of tan paper (think brown paper bag), olive green (think junk mail, etc.) AG #555 Champagne Glass Lampshade template Wooden candle stick or tall wine glass Battery operated tea light Dies:    CheeryLynn™ fringe and Sizzix Tim Holtz pine cone   Large embossing folder   Die cut machine: Spellbinders ™ Grand Calibur Instructions: Follow the directions found in an