Posts

Showing posts from October, 2013

Christmas is Around the Corner

Image
Yes, today is Halloween and you are seeing right.  It's no trick, but rather a treat.  This is a Christmas card.  It's coming quickly and now is the time to start thinking about making all of the cards that you need to send out this year.  I just couldn't manage to do another Halloween project after all of them that I've already done so I started thinking about the next upcoming holidays.  Christmas is my next favorite for several reasons, one of which I will explain later in this post so be sure to read to the end.   I created all of the paper for this card using one of the Arnold Grummer Papermill Kits  and the basic papermaking instructions .   I used some scraps of green paper that I had left over from other projects to create a half sheet with the Deckle Divider since I didn't need a big sheet of it just to run through my die cut machine.  I did the same for the white paper since I, also, didn't need a lot of it.  The r...

Journal with Handmade Papers

Image
By: Carole Lassak Recently, I needed a quick, but impressive, gift. So, I turned to my growing collection of handmade papers. I made this gorgeous journal in just over one hour!! So easy. This comes as a complete photo album kit from Arnold Grummer's, but I made a few personalizations :) I'll share the basic assembly instructions, and you can use chipboard and papers to your own dimensions. You will need chipboard, cover paper, liner paper, paper for filler pages, your choice of embellishments. Note: Just so you don't think that you teleported to another blog, the pictures showing assembly feature different papers than the finished journal. Chipboard cover and end boards with cover and liner papers. Completely cover the chipboard pieces with adhesive. I used Elmer's Craft Bond glue stick. Lay the cover and end boards on the reverse side of your cover paper, leaving a 3/16" space between the boards. This allows the finished book to open easily. My ...

Celebrate by Candlelight

Image
This easy to make lampshade using products from Arnold Grummer's will add a little shine to any holiday.  A green one would be perfect for a Thanksgiving table.  How about one in each window of your house for Christmas?  The shade was created using one of the  Papermill Kits and the basic paper making method .  Since Halloween is coming up quickly, I chose to use the grey cotton rag & wool pulp  which I mixed in with white paper to give it a greyish tone.  Once the pulp made according to the instructions, I poured it into one of the fabulous templates creating each section of shade.  The shade finished  according to the directions for making a piece of paper.  I used one of my favorite dies and die cut machine to cut the pumpkin into each section and then assembled the shade.  The matching ribbon was added to finish off the edges.  I hadn't decided yet, what I would place the shade o...

Embedded Botanicals in Handmade Paper

Image
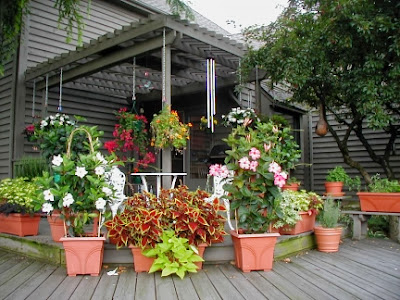
By: Carole Lassak Papermaking at my house is a family affair. My husband is a phenomenal gardener, so he provides me with a steady supply of botanicals. Steve's Deck Garden My grand-daughter is my Number One papermaking assistant. Papermaking is such a great activity for children of all ages!! I made the paper for this project using standard pour method papermaking instructions . I poured a slightly-less-than-normal amount of pulp in the deckle, then added a fern frond from one of my husband's plants. I topped this off with a bit more pulp before lifting the deckle. As I pressed the water from the sheet of paper, the fern frond became partially encased in the pulp. You can even see the fern spores on the exposed portion of the frond. I love the deep texture the fern creates as it is encased in the paper. I found the perfect box to showcase this special handmade paper at our local thrift shop. The smaller frond on the lower right was pressed and dried using Arnold...