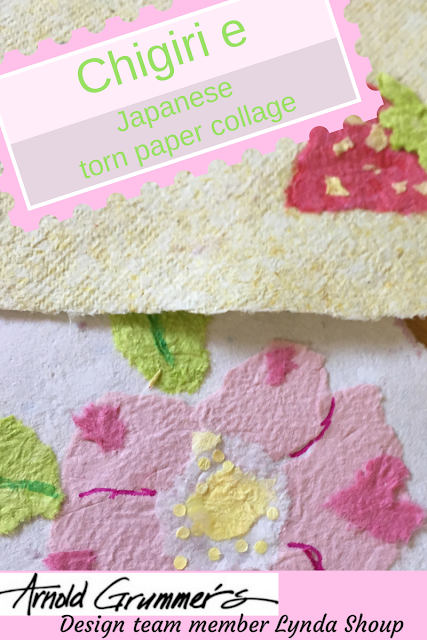
More Pulp Playing
For some reason, I truly enjoy experimenting with paper pulp. After seeing some interesting designed papers at an art store, this idea came to me. The results from my playing, I feel, was very satisfactory. Here are two projects made with this pulp technique. The paper was used as a background for a simple card. Another application was a decorative plate.


It began with some mulberry paper and pulp made from 1/4 cup of cotton linter and a half sheet of colored tissue paper. Process the colored pulp in a blender. Using the paper making screen, place a sheet of mulberry paper onto the blue screen. Wet the sheet by running it under water. Place the mix of pulp into some type of squeeze bottle. The photo here shows one way to add the pulp to the paper sheet. It is randomly placed onto the paper by squeezing it on. NOTE: Another way to add designs to the paper is to place a shape of choice (cookie cutters) onto the paper and squeeze the pulp into it. Carefully lift from the sheet. Use a toothpick or another instrument to move the pulp into place if necessary. For another sheet, lines of pulp are placed onto the mulberry paper.


Finish processing the sheets like you would when making handmade paper sheets.

Allow the sheet to air dry. The sheets can be ironed on a low setting to make them smooth.

To make the decorative plate, apply a sheet to the back of a glass plate. Using Beacon Fast Finish Decoupage first brush the back of the plate with the liquid. Place the paper onto the plate with the pulp side down. Beginning in the center of the plate brush more of the finish over the paper. Continue adding the finish along the edges till the paper is adhered. NOTE: Don't brush too hard onto the paper because it can tear. Allow one coat to dry then apply a second. Leave to dry well. Carefully cut away any excess paper around the edge with an X-acto knife than lightly sand the edge if necessary.


This here is so super awesome!!! I love it and the colors... Now to be adventurous and find some bottles and some other ingredients!
ReplyDeleteGo for it!!! I'm sure I'll try some other patterns and a mix of colors and see what happens.
Delete