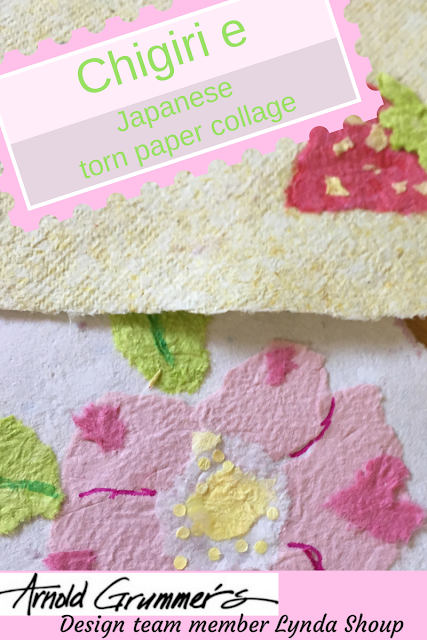
Butterflies are Free Textured Paper Wall Hanging by Linda Hess

Materials:
2 pieces handmade paper (see how-to link below): one textured, one untextured
Chicken Wire w/ Butterflies Border Chipboard (sccb23) www.sincitystamps.com
Caterpillar (SC32-6) www.sincitystamps.com
ColorBox Archival Dye ink (coal black)
scrapbook paper
Acrylic paint in colors of choice
Assorted polymer clay butterflies (contact me for info: polymercreations4u@msn.com)
The Ultimate glue (www.crafterspick.com/allpurposeglue.html)
optional: Making Memories metal words
If you are like me you have a bin full of shredded junk mail, paper, and bills. Put that trash to good use with one of the Arnold Grummer's paper making kits. when I told my family that I was "making paper" they looked at me like I was crazy! "Can't you buy it at the store" was heard more than once ;-) Once they saw what could be made with the shredded mess that used to be thrown away, they were ready to jump in a make it along with me!
Follow directions on either kit to create multiple sheets of paper for crafting. I would suggest working in an area where the water will not bother anything (I worked in the laundry room). I am not going to take you through the actual paper making process in this tutorial. For insight into that process, go to my blog post (http://polymercreations4u.wordpress.com/2014/07/05/arnold-grummers-paper-making/) I created a couple of different pages in that post which I will use today. [Please note: I used the Papermill Pro which creates 8 1/2 x11 pieces of handmade paper. I like the size because you can get multiple uses from one sheet.]
Procedure:
1) Place untextured piece of paper on work surface. Cover with butterfly border chipboard, making sure that paper covers openings entirely. Cut or tear away excess paper (set aside leftover piece for another use). Remove chipboard.

2) Paint Butterflies chipboard in colors of choice (I used Dazzling Metallics in silver and purple). Set aside to dry.

3) Glue chipboard butterflies first to cut/torn sheet and then in place on textured sheet. Rough/natural edges showing is okay!

4) Rubber stamp scrapbook paper with "Caterpillar" saying. Tear edges towards you to reveal white underneath. Glue or tape in place.


6) If desired, glue metal words in place. Last touch, glue butterflies in place.


I plan to feature this in a shadow box frame float mounted on a larger piece of mat board or scrapbook paper. I hope you have enjoyed this project. Amazing how a few simple pieces can create something so lovely, isn't it? Now go forth and create :-D


great project - thanks for sharing
ReplyDeleteLinda! What an excellent way to introduce yourself to the AG Design Team and followers. We're already looking forward to projects you'll be sharing in the next 6 months. Welcome, and well done!
ReplyDeletethank you Kim. I am looking forward to working with all of the products. Hopefully some of my projects will be outside the normal "box" :-)
DeleteWelcome Linda...you will be a great addition to our team!
ReplyDeleteLove and light,
Michele